What is SessionBox?
SessionBox is a browser extension that allows you to manage multiple sessions simultaneously. Each tab runs as an isolated session with its own cookies, cache, and login credentials, making it ideal for managing multiple accounts on the same platform. Lightweight and simple, SessionBox is perfect for social media management, account switching, and basic online tasks requiring separate logins. Prefer an enterprise-grade guide? Learn more about Oculus Proxies Sessionbox Integration Guide.- Chrome extension
- Desktop app
1
Install SessionBox
1. Visit the SessionBox extension page.2. Add the extension to your Chrome browser.
2
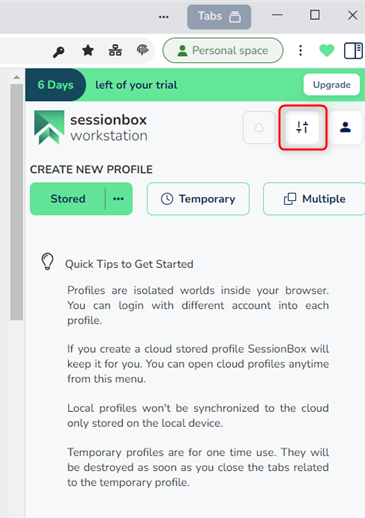
Access SessionBox Settings
1. Click the SessionBox icon in your browser toolbar.2. Open the menu by clicking the three horizontal lines in the extension interface.3. Select Settings from the menu.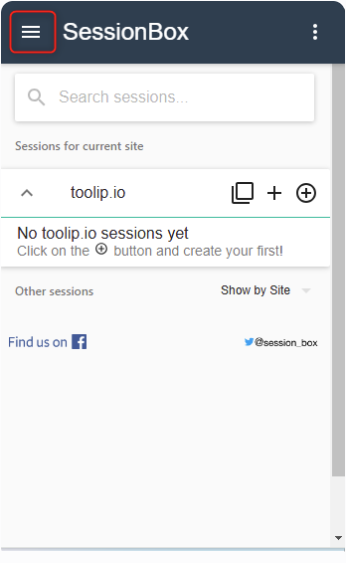
3
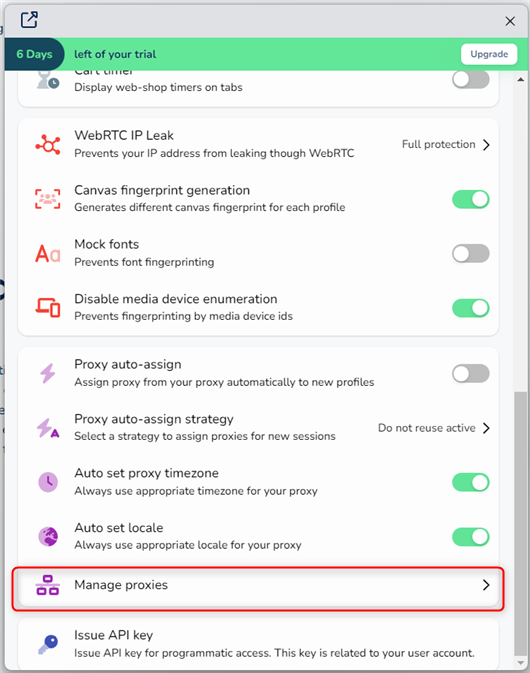
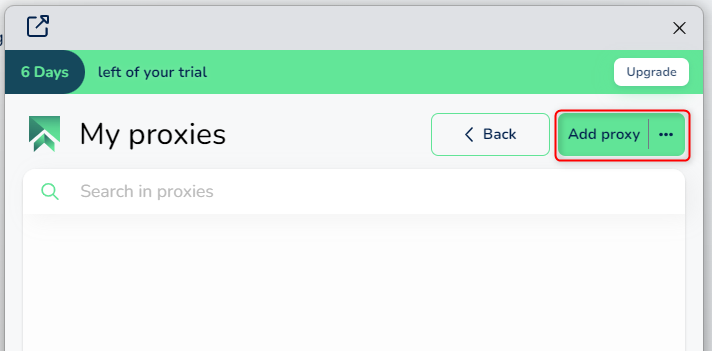
Add a New Proxy
1. Navigate to the Proxy tab within the SessionBox settings.2. Click Add New to create a new proxy profile.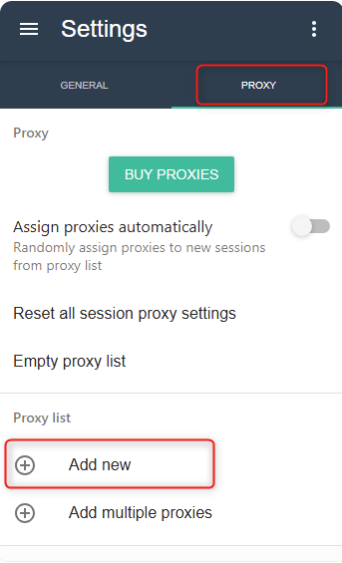
4
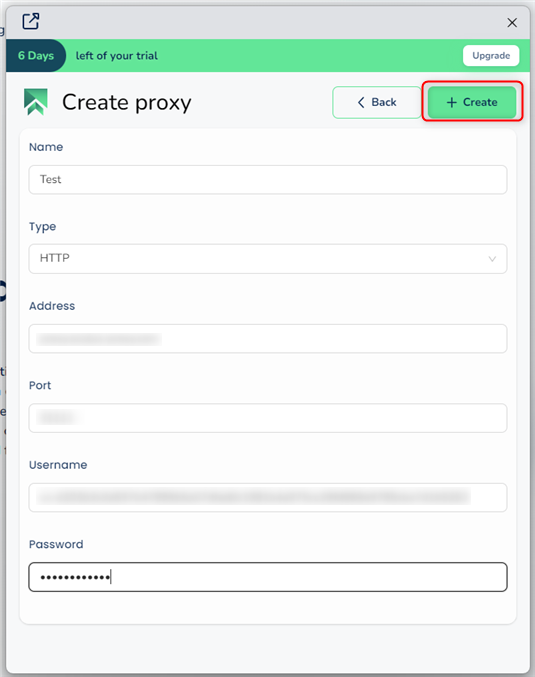
Configure Your Toolip Proxy
1. Enter the following proxy details in the fields provided: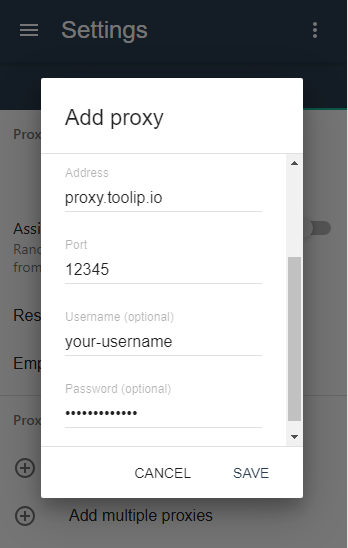
-
Address:
proxy.toolip.io - Port: Retrieve from your Toolip dashboard.
- Username: Your Toolip username.
- Password: Your Toolip password.
For country-specific proxies, you can enter a format like
your-username-country-US to receive a US exit node.5
Create a New Session
1. Visit any website and open the SessionBox extension.2. Click the New Stored Session button to create a session.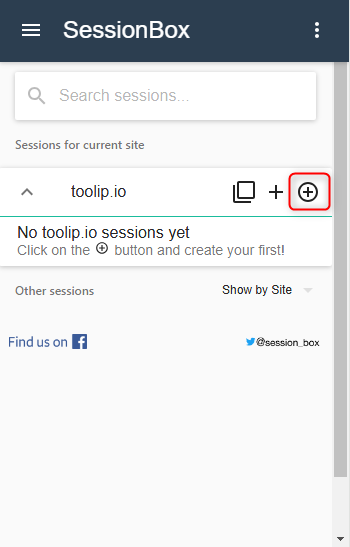
6
Assign a Proxy to the Session
1. Locate the session you just created in SessionBox.2. Click the three dots next to the session and select Settings.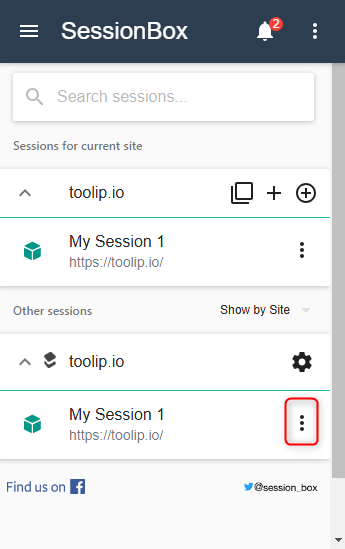
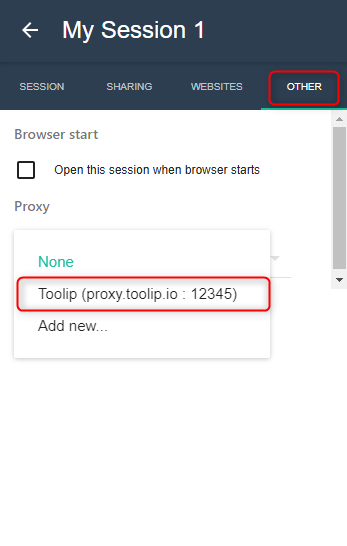
7
Enable the Proxy for the Session
1. In the Settings menu, go to the Other tab.2. Under the Proxy section, select the proxy profile you created earlier.3. Save your changes and reload the tab to apply the proxy settings.