
What is MoreLogin?
MoreLogin is a versatile tool that helps you manage multiple online profiles securely and efficiently. Designed for marketers, social media managers, and privacy-conscious users, it allows you to create unique digital identities for each profile. Each profile comes with its own IP address, cookies, and device fingerprints, ensuring you remain undetected and protected from account bans. With seamless proxy integration, MoreLogin adds an extra layer of anonymity, making it ideal for managing multiple accounts, scaling e-commerce operations, and running affiliate marketing campaigns. Whether you’re juggling a few accounts or handling large-scale projects, MoreLogin streamlines your workflow while keeping your data secure. Prefer an enterprise-grade guide? Learn more about Oculus Proxies Morelogin Integration Guide.How to Set Up Toolip With MoreLogin
1
Download and Install MoreLogin
1. Visit the MoreLogin website.2. Download the application and follow the installation instructions.3. Launch MoreLogin and log in to your account.
2
Create a New Profile
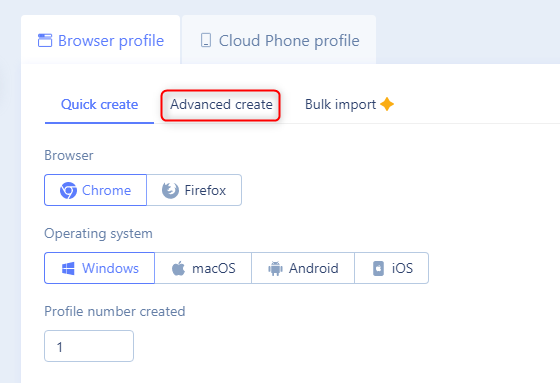
1. On the main dashboard, click +New profile to start setting up a new browser profile.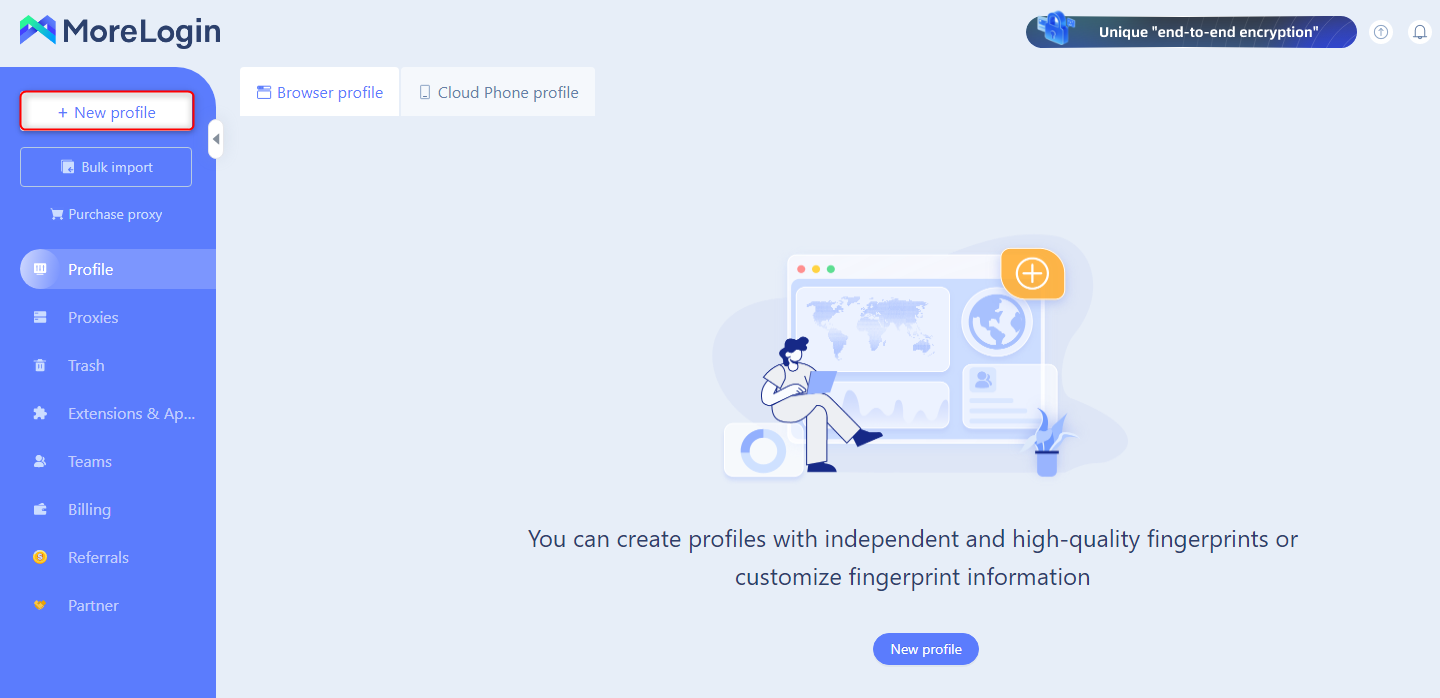
3
Configure Your Proxy Settings
1. Enter your Toolip proxy details as follows: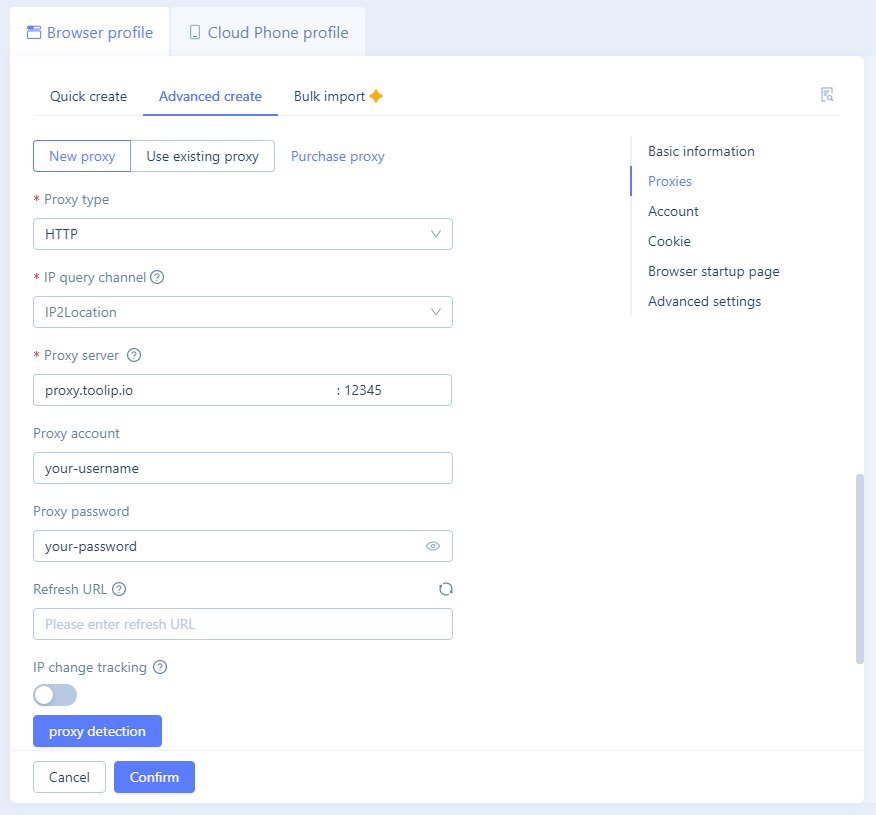
-
Proxy Type: Choose
HTTP,HTTPS, orSOCKS5based on your proxy type. -
Proxy Server: Enter
proxy.toolip.io. - Proxy Port: Use the port number from your Toolip dashboard.
-
Proxy Account: Input your Toolip proxy
username. -
Proxy Password: Input your Toolip proxy
password.
You can also specify a country for your proxy. For instance, entering
your-username-country-US will give you a US-based exit node.4
Launch Your Profile
1. On the dashboard, locate your newly created profile.2. Click Start to open a secure browsing session with your configured Toolip proxy.