What is Awesome Traffic Bot?
Awesome Traffic Bot is a powerful and versatile traffic automation tool designed to increase keyword CTR and drive traffic across browsing platforms. With built-in IP rotation and support for all traffic types—organic, referral, and direct—it offers unmatched flexibility. When paired with Toolip, you can fully leverage its capabilities on Windows servers, ensuring secure, geo-targeted traffic delivery with full control over your campaigns. Prefer an enterprise-grade guide? Learn more about Oculus Proxies Awesome Traffic Bot Integration Guide.How to Integrate Toolip with Awesome Traffic Bot
1
Install
Download Awesome Traffic Bot.
2
New Campaign
Open the app, navigate to the Campaigns section, and click New Campaign.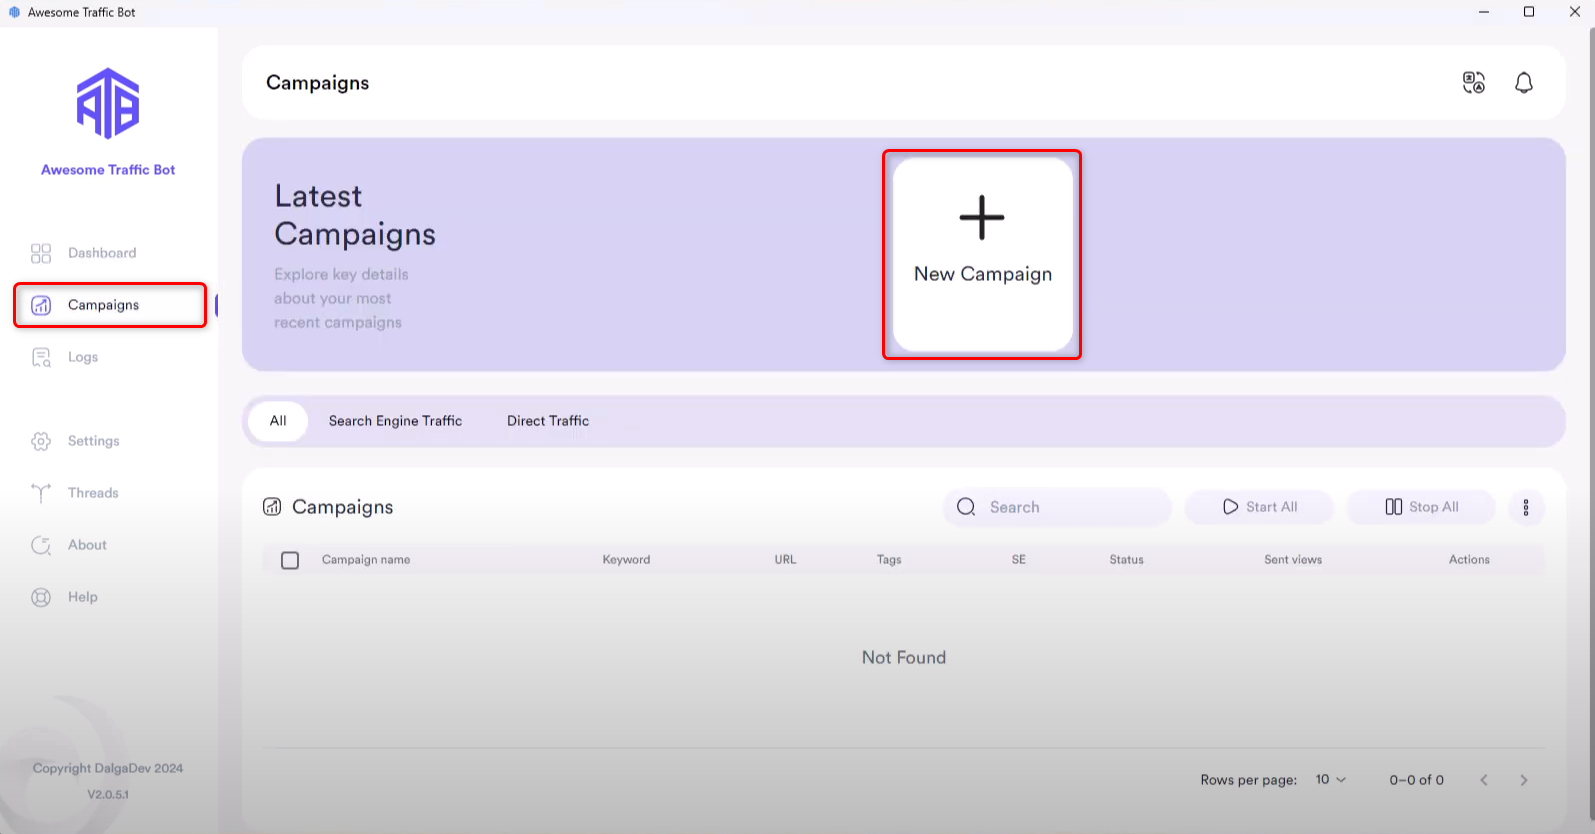
3
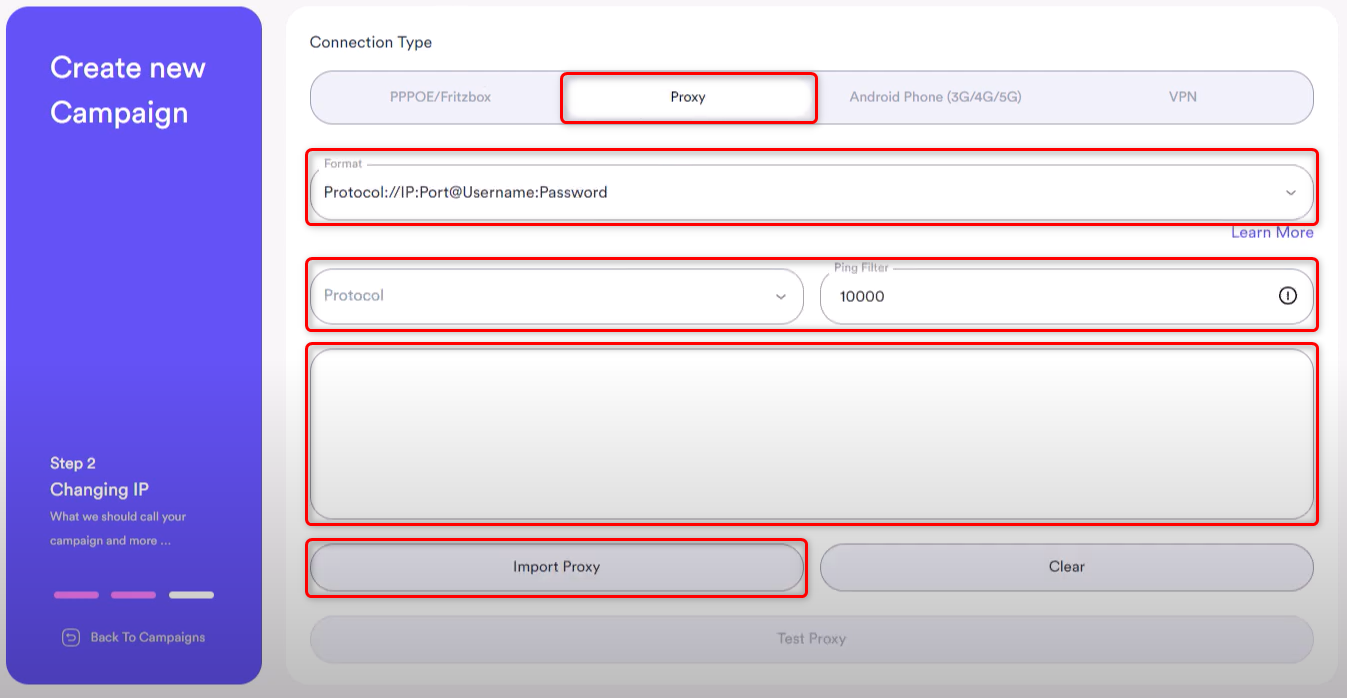
Configure Proxy
- After naming your campaign, set Connection Type to Proxy.
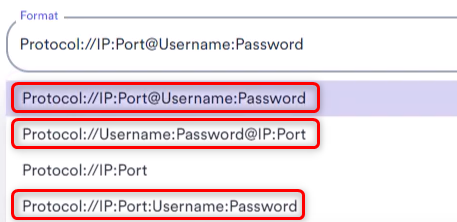
- Select your desired Proxy
Format,Protocol, andPing Filter. - You can either paste a single proxy into the textbox or upload multiple proxies using the Import Proxy button with a
.txtfile.
4
Test Proxy
Click Test Proxy to verify the functionality of the imported proxies.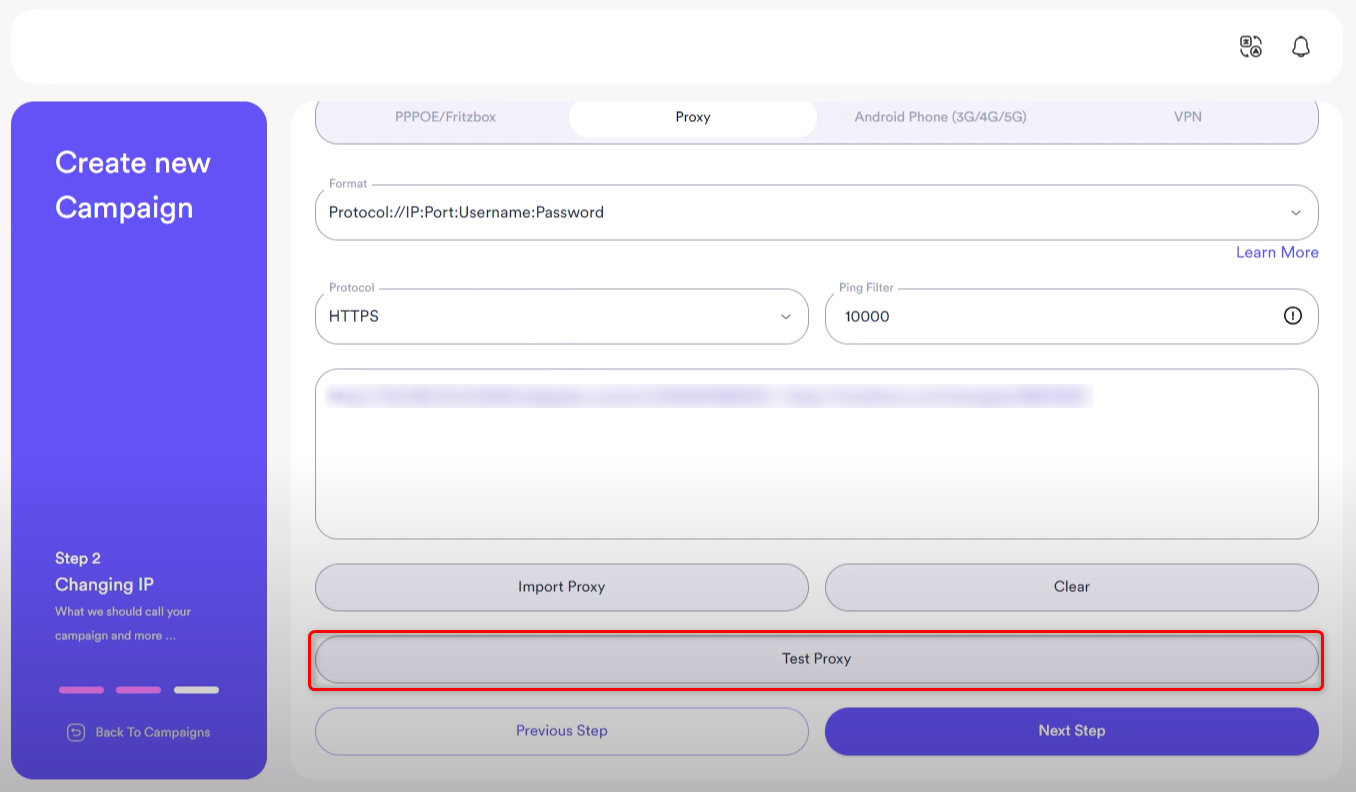
5
Check Results
A results window will appear, indicating whether each proxy is valid and ready for use.