What is BitBrowser?
BitBrowser is a multi-profile browser designed for managing multiple online identities securely and efficiently. Each profile operates in an isolated environment, allowing you to run multiple accounts while minimizing detection risks. By integrating Toolip, you enhance anonymity and ensure smooth, uninterrupted connections. Prefer an enterprise-grade guide? Learn more about Oculus Proxies Bitbrowser Integration Guide.How to Use Toolip with BitBrowser
Download and Install BitBrowser
1. Visit the official BitBrowser website and download the application.2. Follow the installation instructions.3. Launch BitBrowser and log in to your account.
Access the Browser Profiles Section
1. After logging in, navigate to the Browser Profiles section in the menu or dashboard.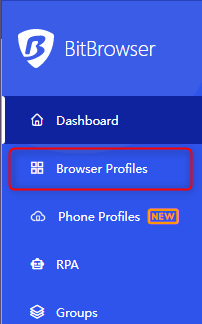
Create a New Browser Profile
1. Click the +Add button to create a new profile.2. Assign a descriptive name to your profile for easy identification.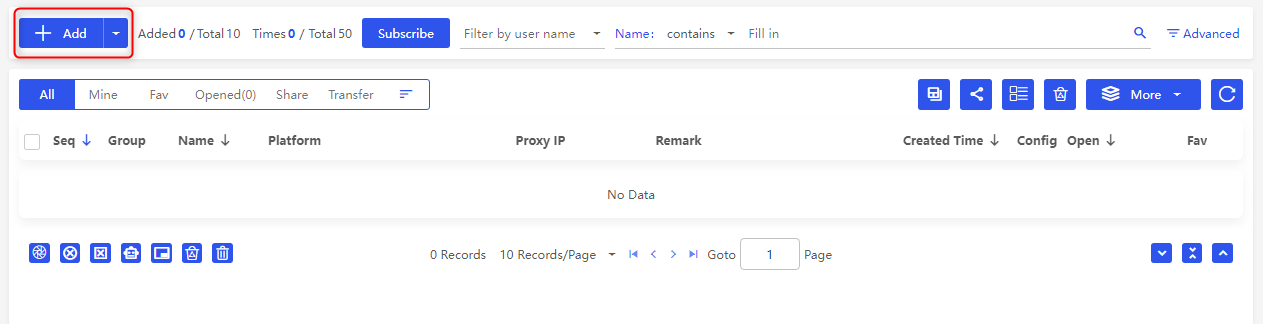
Enter Toolip Proxy Details
1. Scroll to the Proxy section of the profile settings.2. Fill in your Toolip proxy details: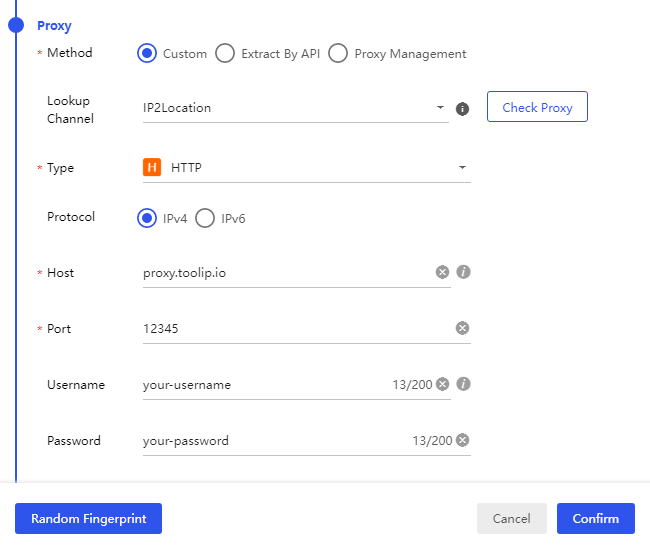
-
Type: Select
HTTP,HTTPS, orSOCKS5based on your Toolip proxy. -
Host:
proxy.toolip.io - Port: Enter the port number from your Toolip dashboard.
-
Username: Your Toolip username. If using a geo-specific proxy, format it like
your-username-country-US. - Password: Your Toolip password.
Test and Save Your Proxy Settings
1. Click Check Proxy to verify the connection.2. If the test is successful, click Confirm to save the profile settings.
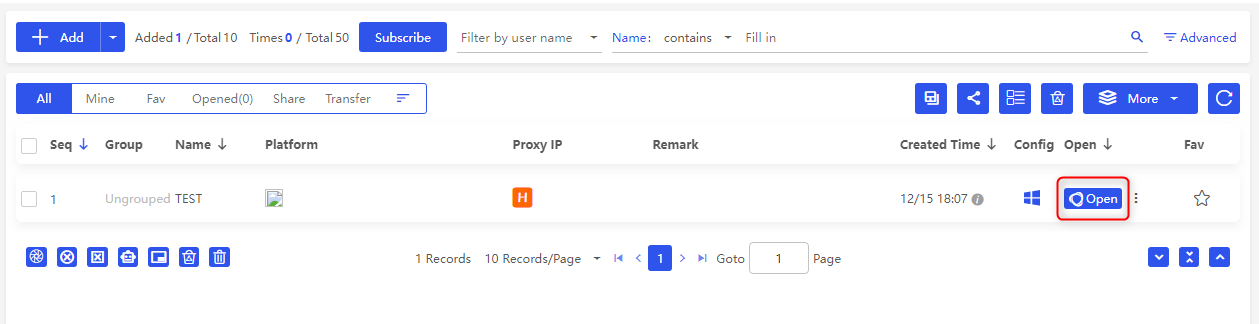
Launch the Profile and Verify Setup
1. Go to the Browser Profiles dashboard.2. Locate your newly created profile and click Open.3. Once the browser launches, navigate to httpbin.org/ip to confirm that the displayed IP matches your Toolip proxy.4. If the IP matches, your proxy is successfully integrated!