What is ZennoPoster?
ZennoPoster is a powerful automation tool designed for performing repetitive web tasks without manual intervention. Popular among SEO experts, digital marketers, and web scrapers, ZennoPoster simplifies complex online processes like account registration, content posting, data scraping, and form filling. With its drag-and-drop workflow builder, users can create automation scripts without coding knowledge. Key features include browser emulation, CAPTCHA solving, proxy integration, and task scheduling. By configuring Toolip proxies, you can enhance anonymity, bypass geo-restrictions, and ensure uninterrupted automation. Prefer an enterprise-grade guide? Learn more about Oculus Proxies Zennoposter Integration Guide.How to Set Up Toolip With ZennoPoster
1
Download and Install ZennoPoster
1. Visit the ZennoPoster website and download the software.2. Follow the installation instructions and launch ZennoPoster on your system.
2
Create a New Project
1. Open ZennoPoster and navigate to New Project.2. Click to start a new automation workflow.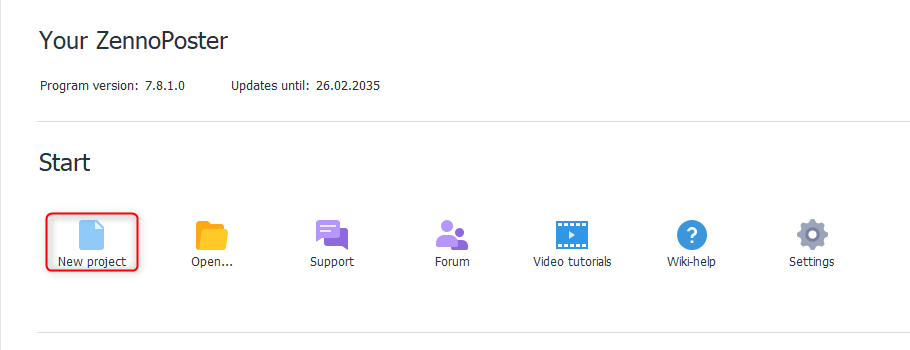
3
Launch the Browser
1. In the project editor, locate the browser panel.2. Click the Play button on the right side to initiate a browser session.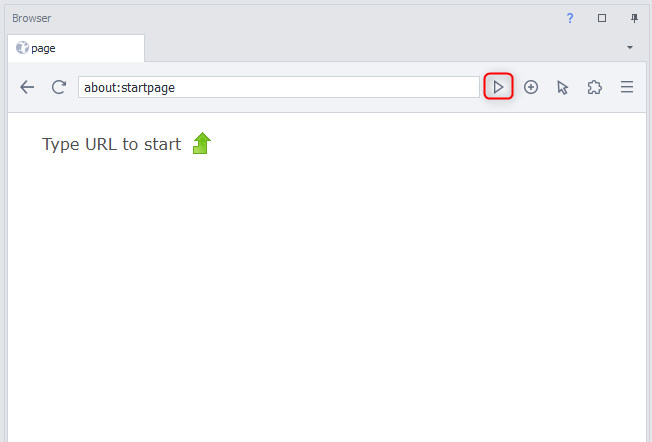
4
Add a New Action
1. Right-click within the workflow area.2. Select Add Action, then navigate to Browser > Settings.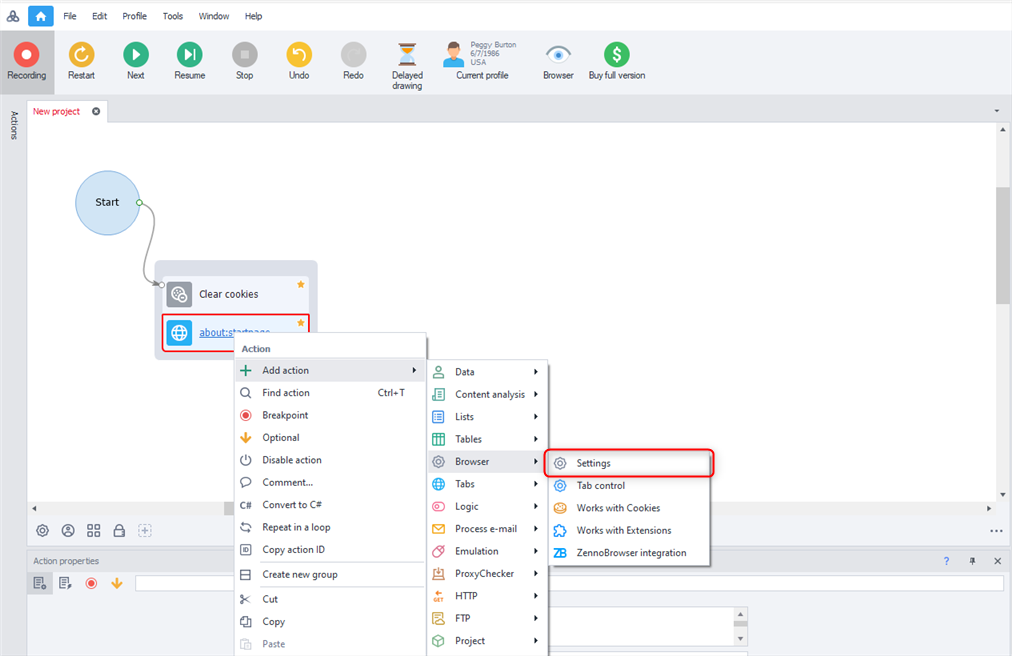
5
Position the Action
1. If an Undefined Action Box appears outside the main workflow, drag it into the sequence.2. Ensure that it connects to the Start node for correct execution.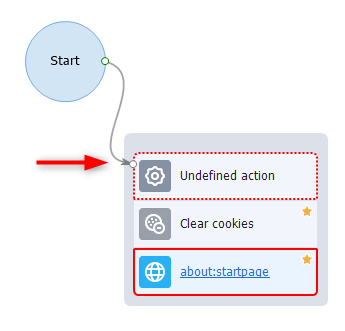
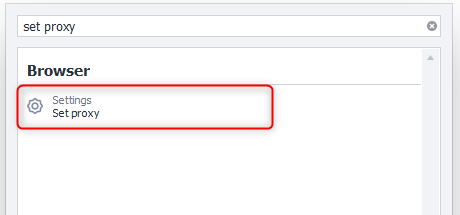
6
Find and Set Proxy Action
1. Right-click inside the workflow and select Find Action.2. In the search bar, type Set Proxy and select it.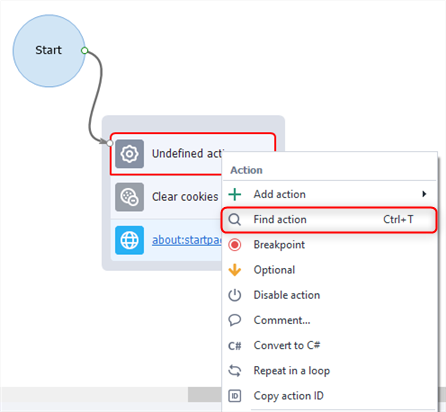
7
Enter Toolip Proxy Details
1. Locate the Proxy Settings panel at the bottom.2. Input your Toolip proxy credentials using the following format: 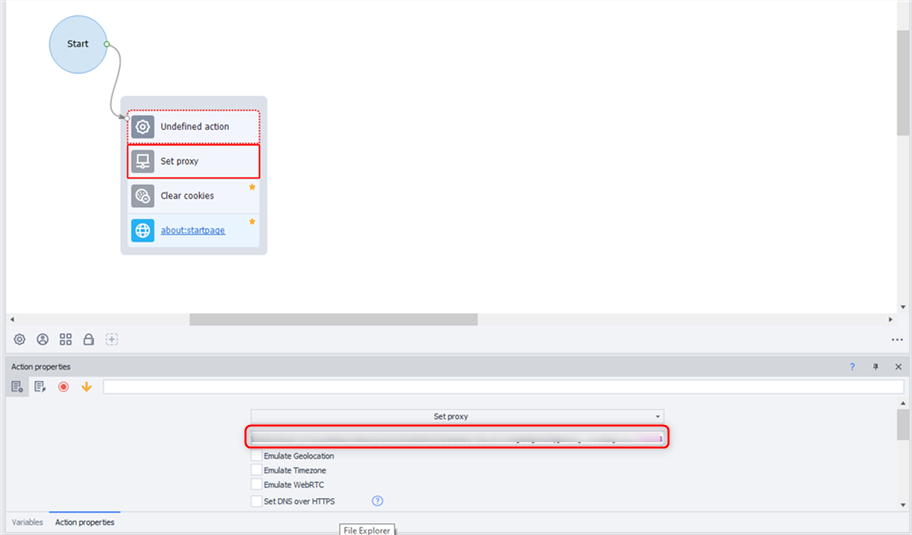
username:password@proxy.toolip.io:port3. Double-check the details to avoid connectivity issues.8
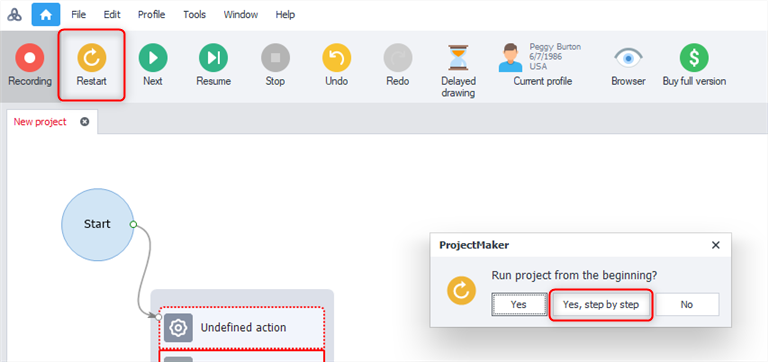
Apply Changes and Restart
1. Click Restart at the top of the ZennoPoster interface.2. When prompted, select Yes, step by step to ensure the proxy settings take effect.