
Why Use Toolip on iOS?
Setting up Toolip proxies on your iPhone or iPad allows you to:- Protect Your Privacy: Mask your real IP address and browse securely.
- Access Geo-Restricted Content: Connect through different regions to unlock region-specific content.
- Enhance Reliability: Minimize detection risks while maintaining stable, anonymous connections for browsing, shopping, or account management.
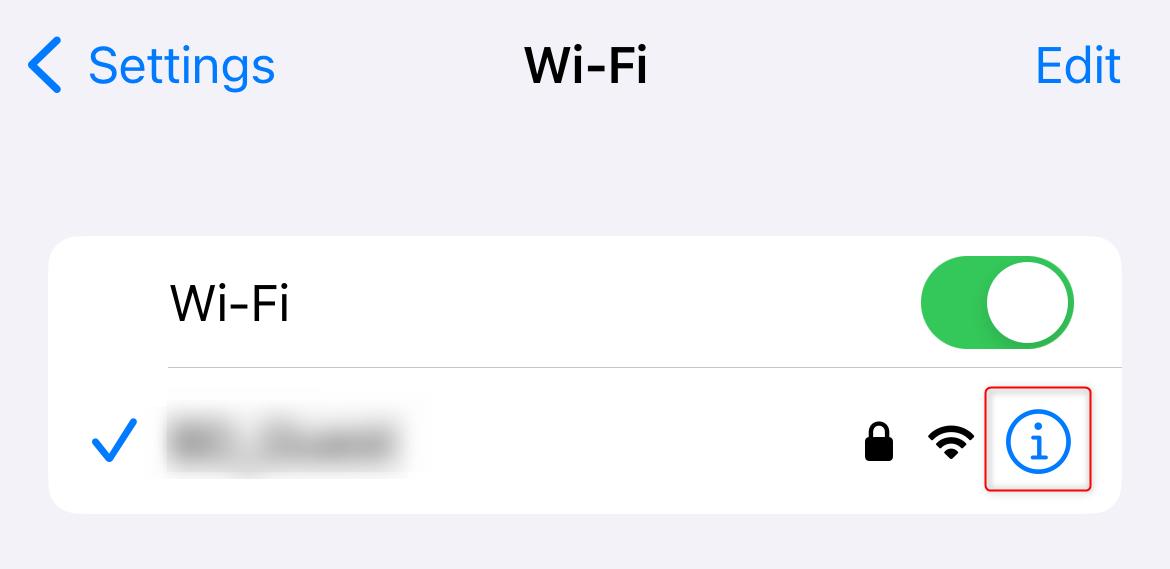
Open Wi-Fi Settings
1. Open the Settings app on your iPhone or iPad.2. Tap Wi-Fi, then tap the i (info) icon next to the network you’re connected to.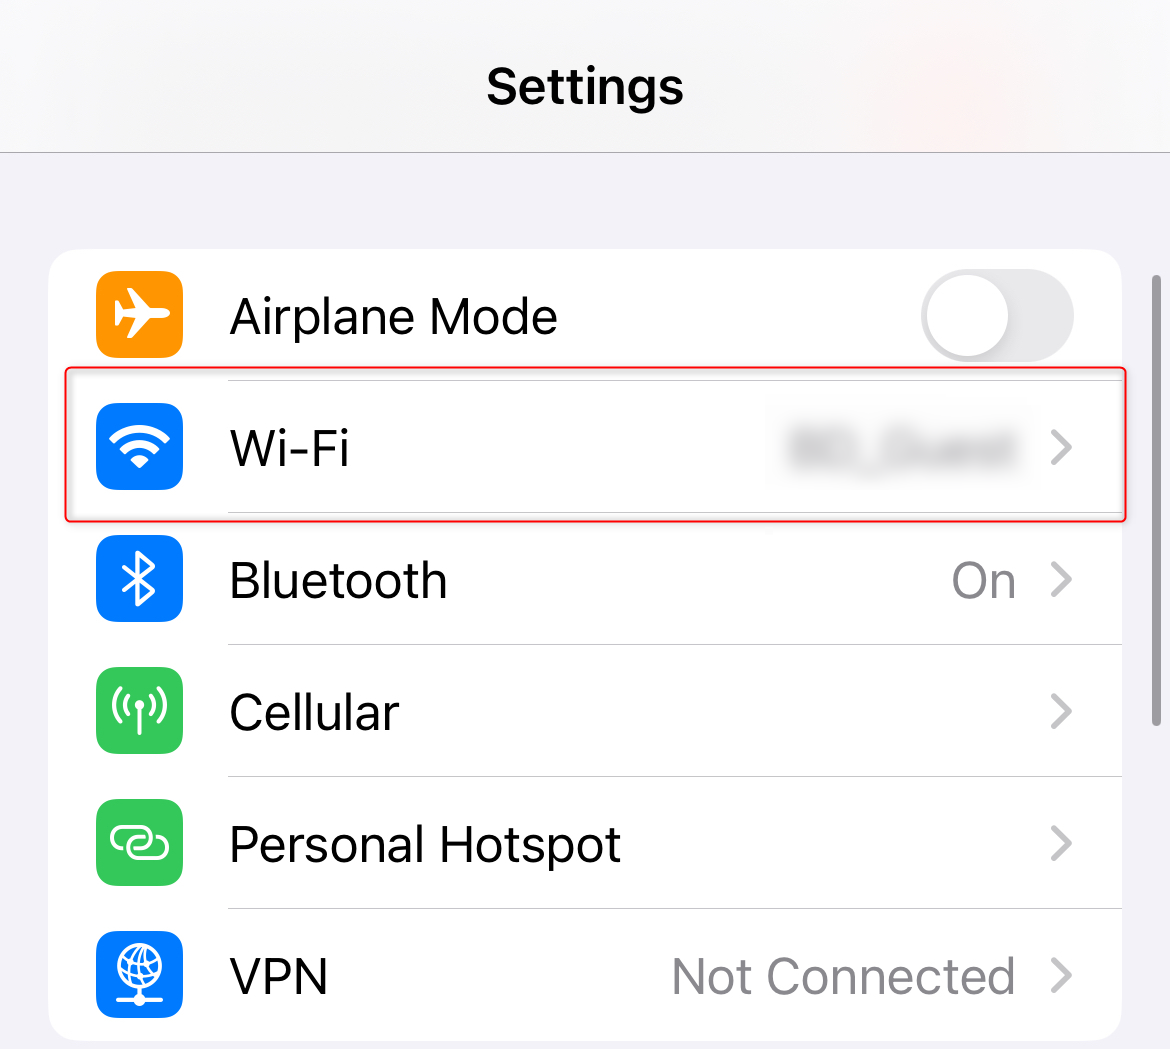
Change Proxy Settings to Manual
1. Scroll down to the HTTP Proxy section.2. Select Manual.3. Toggle Authentication On.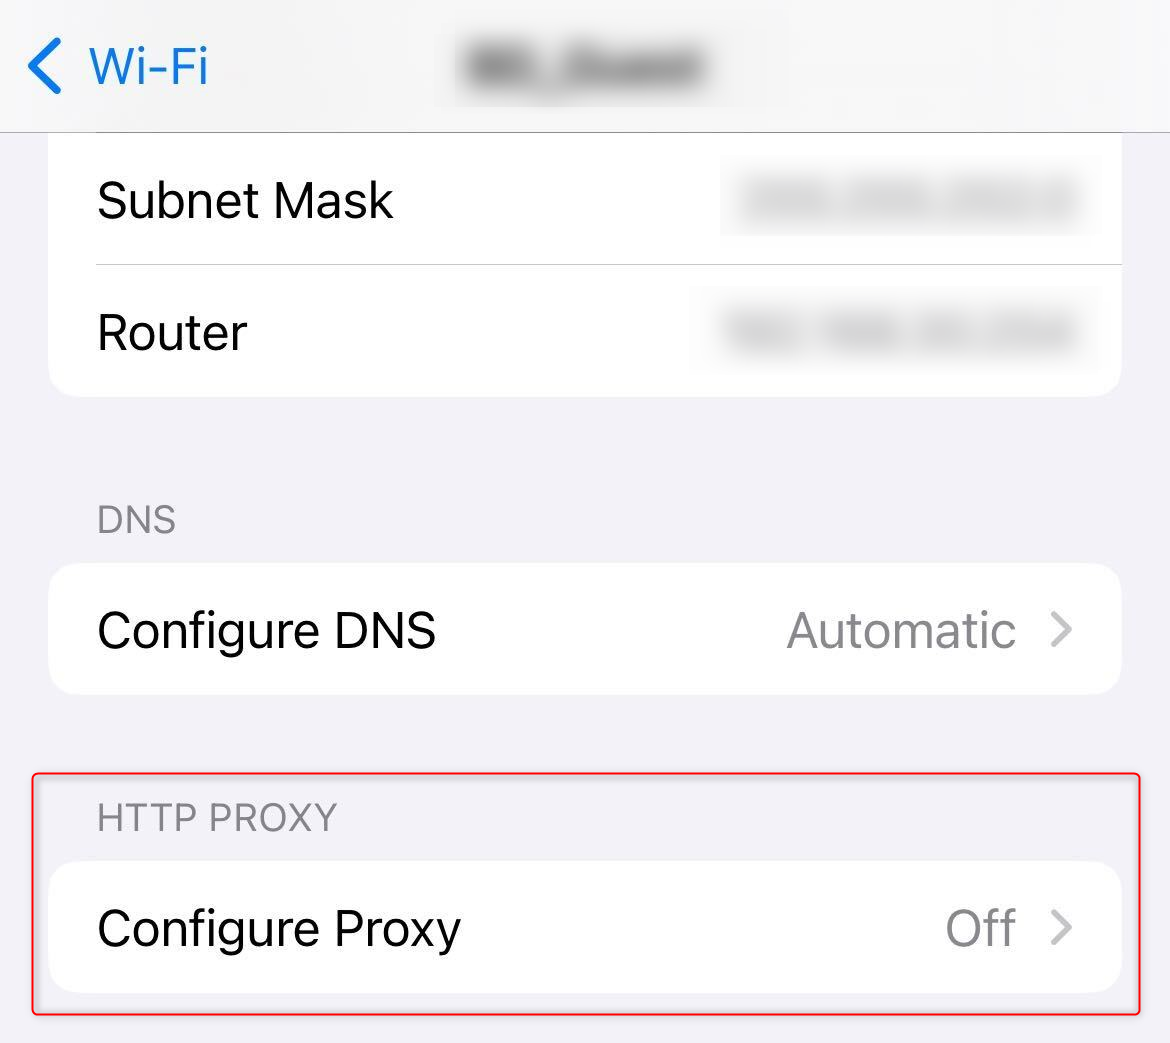
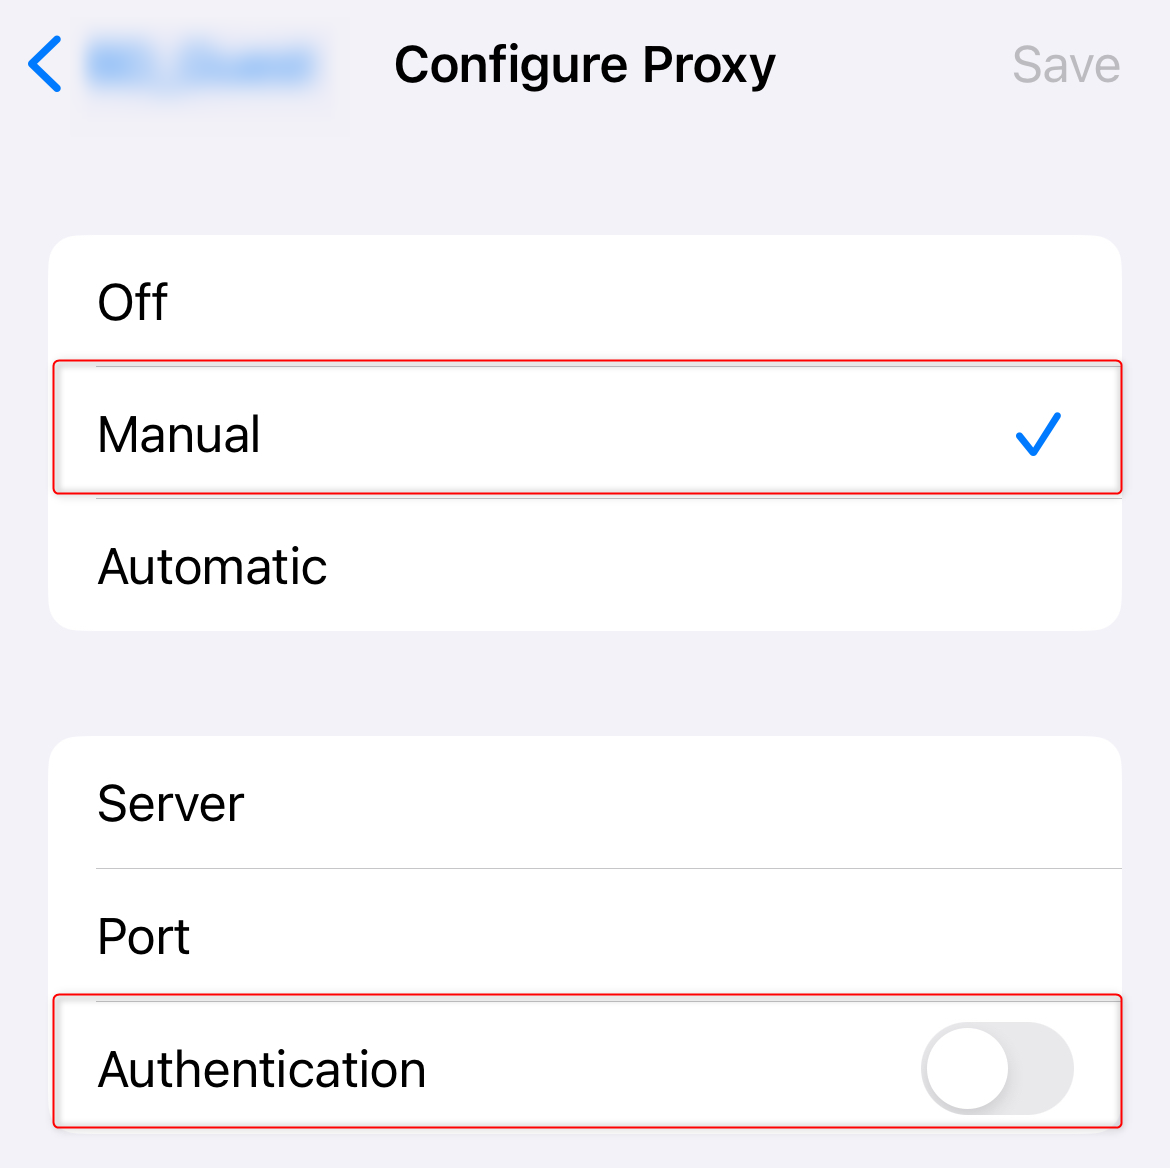
Enter Toolip Proxy Details
1. Server: Enter 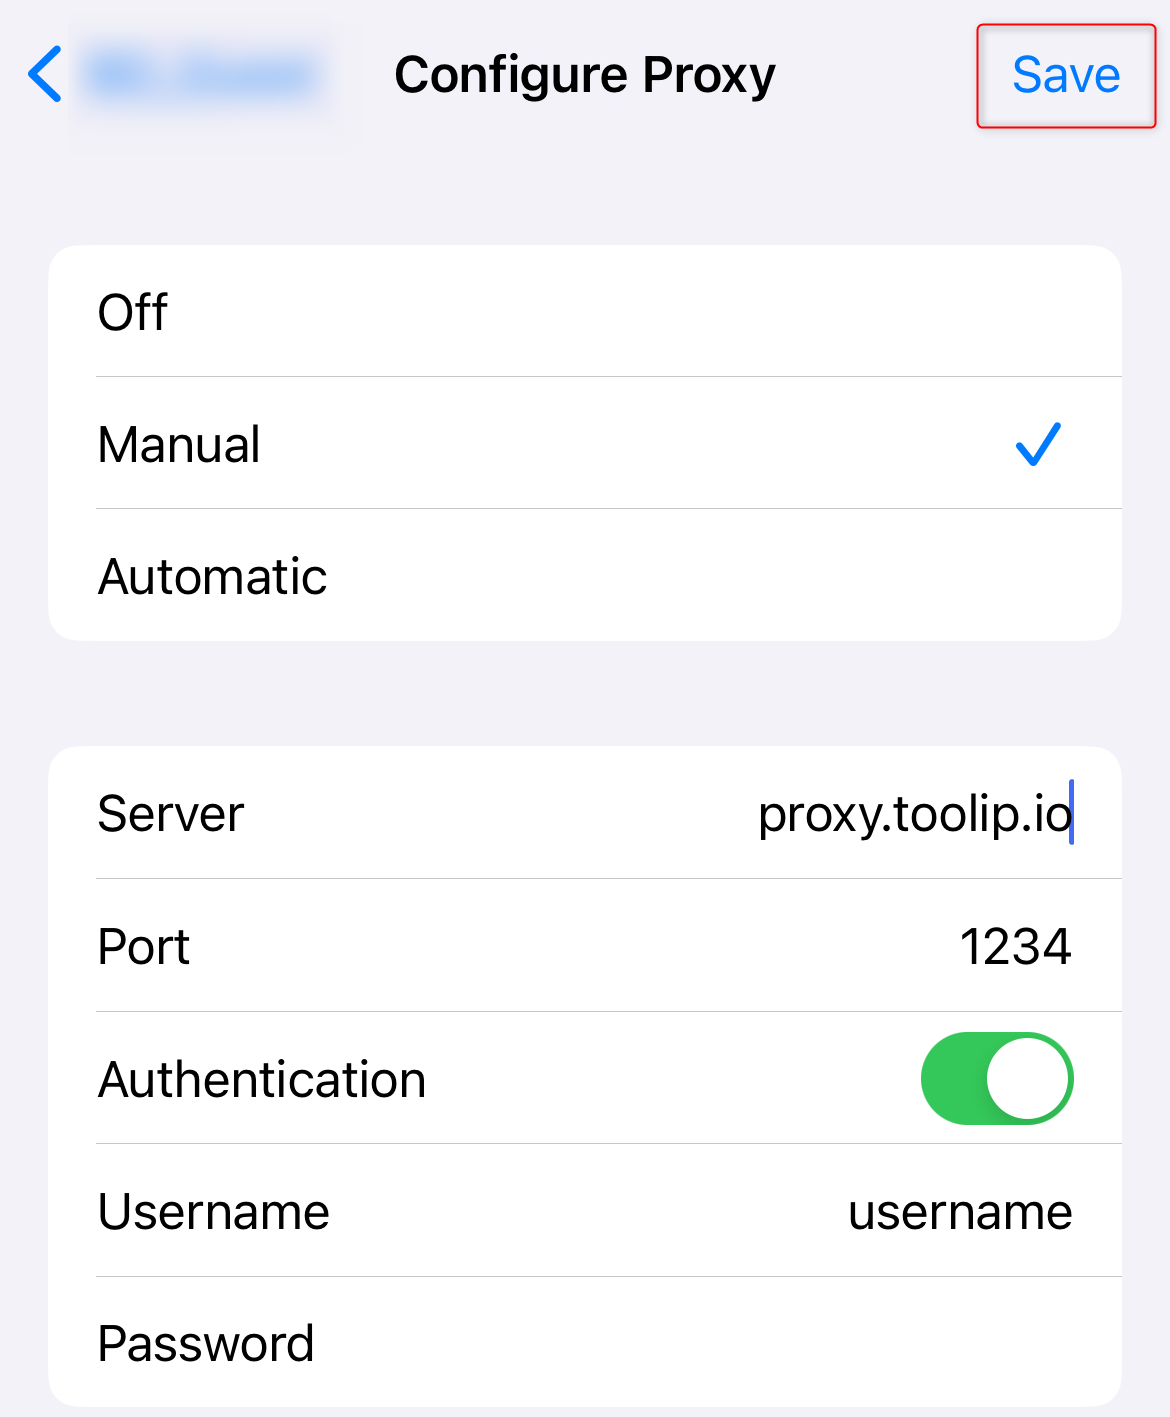
proxy.toolip.io (or the host provided in your Toolip account).2. Port: Use the port number from your Toolip dashboard.3. Username and Password: Input your Toolip proxy credentials.4. Ensure all details are correct.5. Tap Save to apply the settings.Test Your Proxy Connection
1. Open Safari and visit httpbin.org/ip.2. Check if the displayed IP matches your Toolip proxy IP.3. If it does, your internet traffic is now secure and private.