What is Fluxguard?
Fluxguard is a powerful solution for tracking, analyzing, and responding to critical changes in web-based data. With its advanced AI crawler, it monitors websites for relevant updates while minimizing false positives and reducing human error. Automated workflows and actionable insights help streamline operations and save valuable time. By integrating Toolip, you can monitor websites securely, bypass restrictions, and ensure your activities remain private and undetectable. Prefer an enterprise-grade guide? Learn more about Oculus Proxies Fluxguard Integration Guide.How to Integrate Toolip With Fluxguard
1
Sign Up
Create an account and log in to the Fluxguard dashboard.
2
Add a Website to Monitor
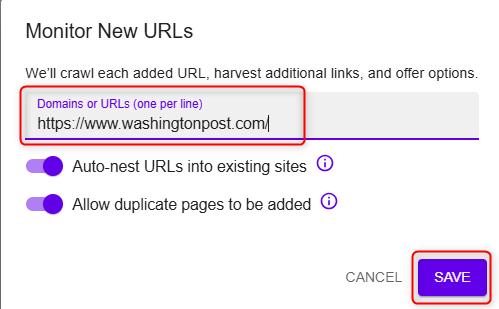
Inside the dashboard click ADD SITE, enter the URL you want to track, and press SAVE.

3
Session Settings
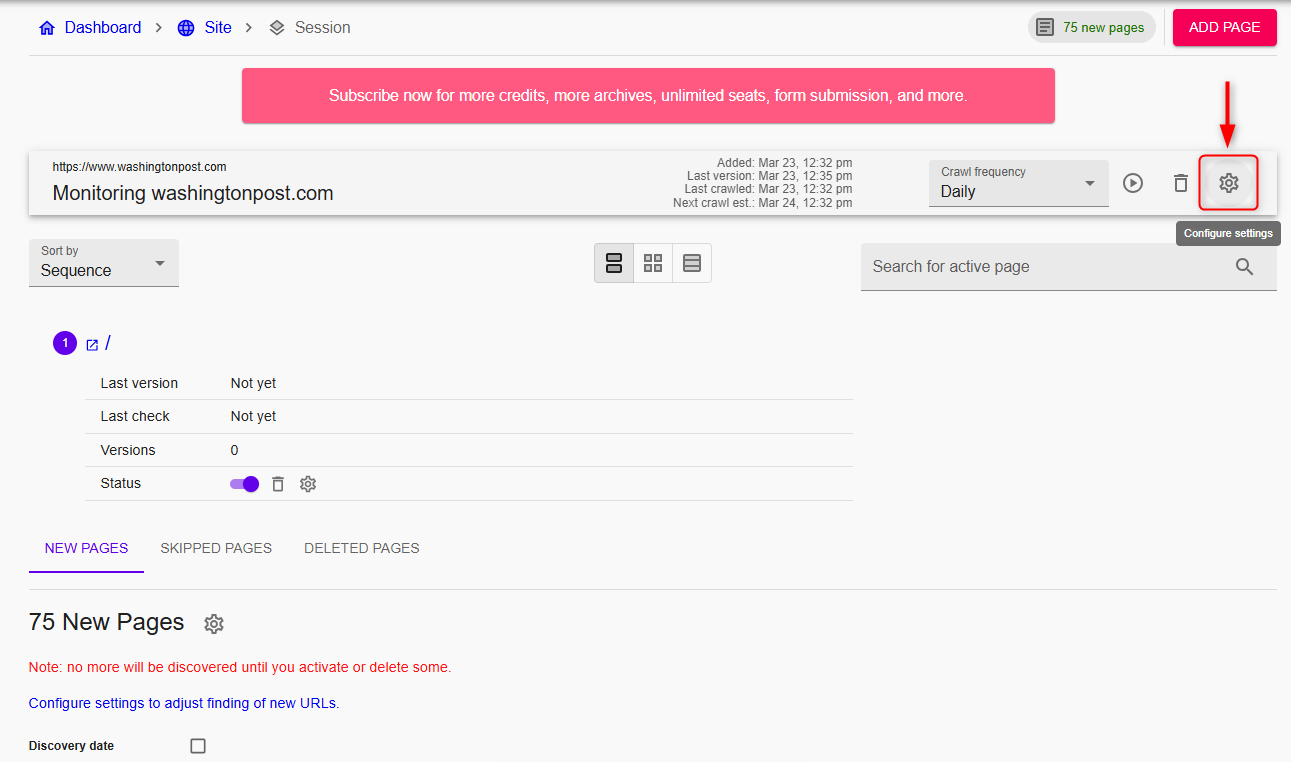
Once the Session page opens, navigate to Session settings.

4
Configure Proxy Settings
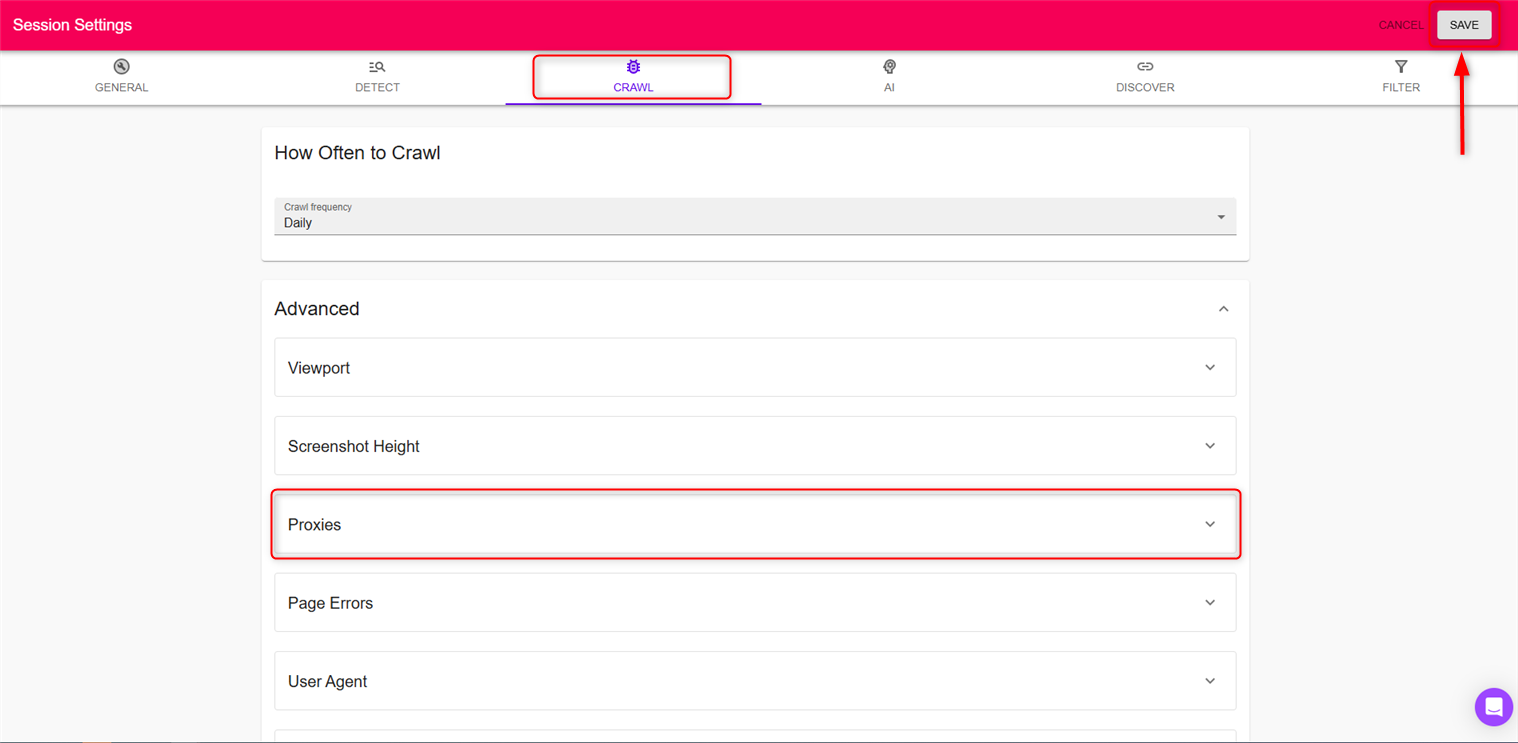
Inside Session settings, go to the CRAWL tab and open the Proxies sub-tab.

5
Enter Proxy Details
Fill in the required proxy information using one of the two available methods:
- Quick insert: username:password@host:port
- Or separately:
Host,Port,Username,Password. Hit Save and return to your dashboard for monitoring.
