
What is ChangeDetection?
ChangeDetection is a powerful tool for monitoring website updates in real time. Whether you’re tracking competitor websites, product availability, or price changes, this tool ensures you’re always informed. By integrating Toolip, you can monitor websites anonymously, bypass geo-restrictions, and prevent detection. Prefer an enterprise-grade guide? Learn more about Oculus Proxies Changedetection Integration Guide.How to Integrate Toolip With ChangeDetection
1
Sign Up and Access the Dashboard
1. Visit the ChangeDetection website and sign up for an account.2. Log in to access the dashboard, where you’ll configure your proxy settings.
2
Open Proxy Settings
1. From the ChangeDetection dashboard, go to Settings.2. Navigate to the CAPTCHA & Proxies section to open the proxy configuration panel.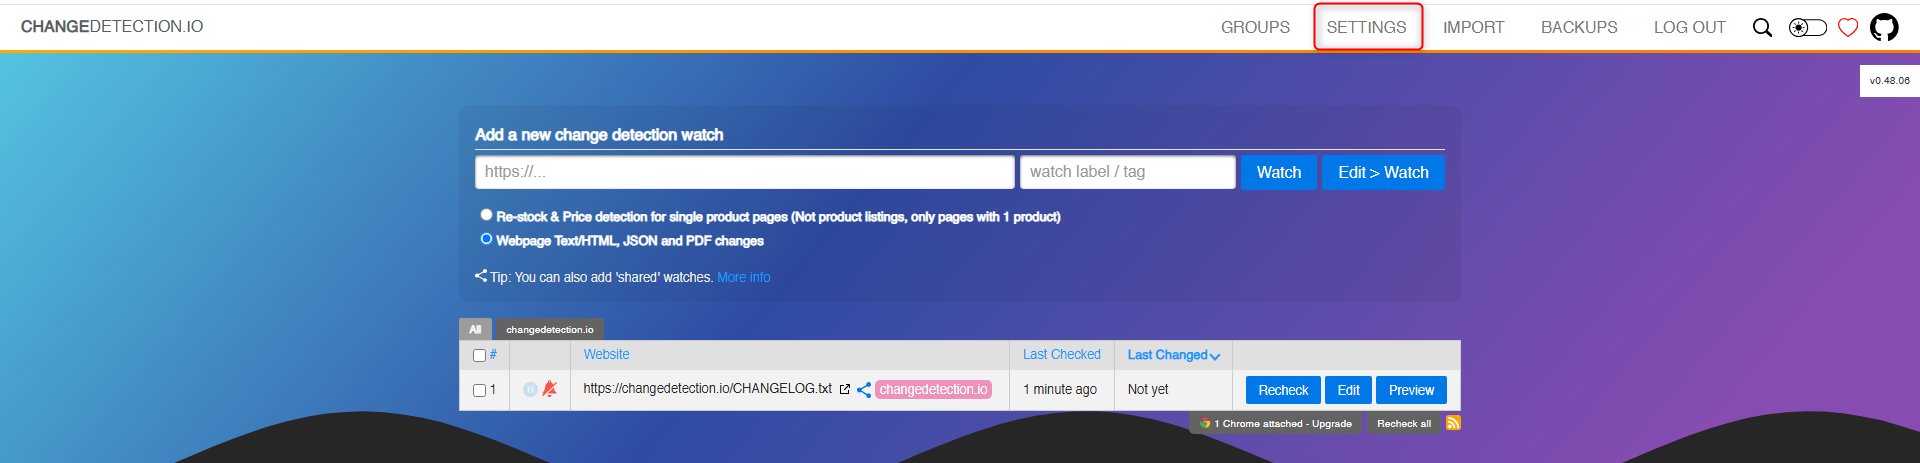
3
Add Your Toolip Proxy
1. In the Proxy Configuration section, fill in the required fields: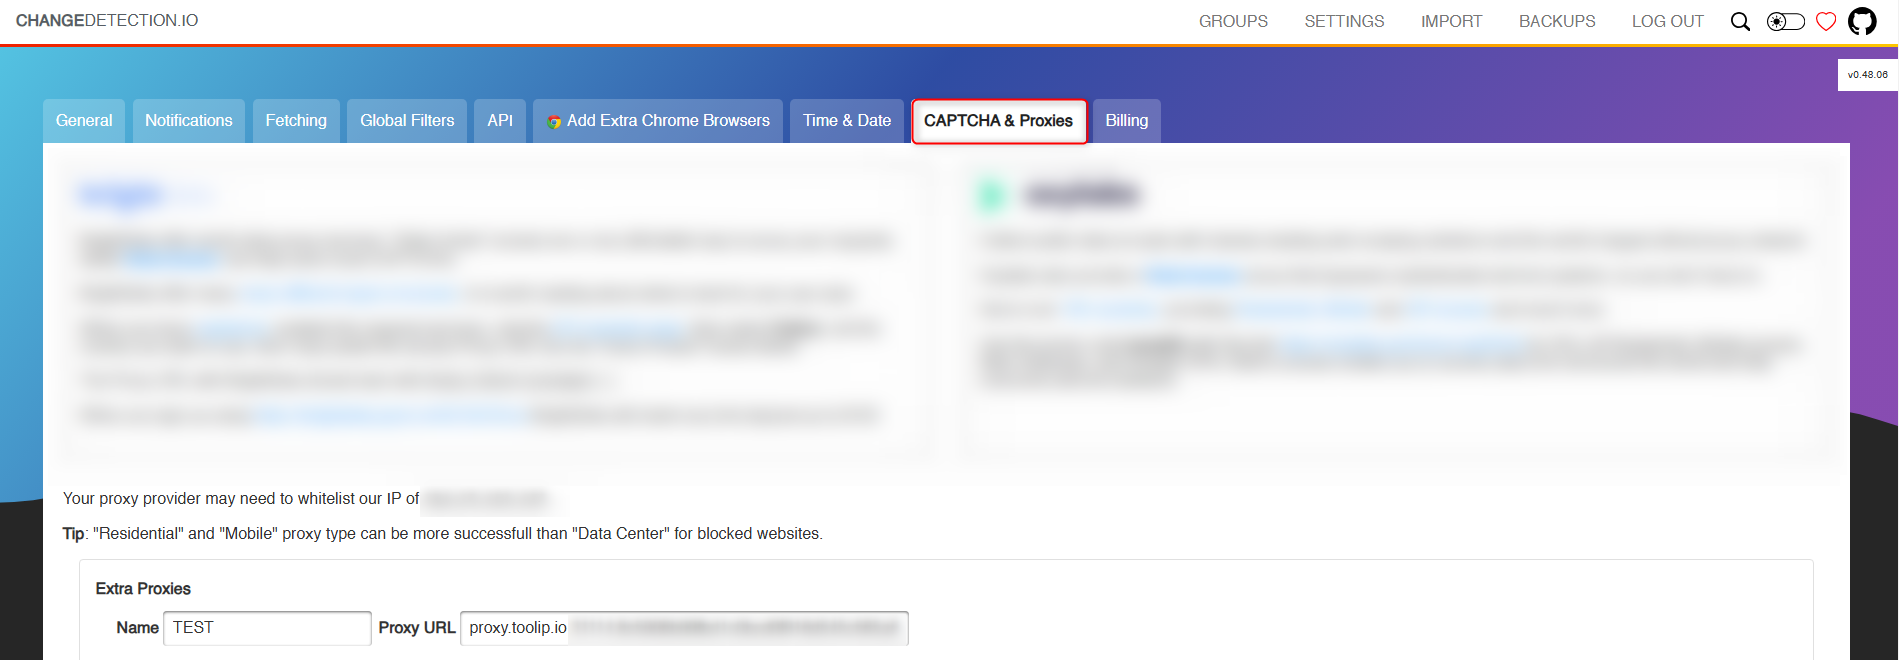
- Name: Enter a recognizable name, e.g., Toolip Proxy.
-
Proxy URL: Format your proxy details as:
- Click Show Configured List.
- Copy the proxy details under the Generic tab.
For geo-targeted proxies, append the country code to your username:
your-username-country-US for a US-based proxy.4
Enable Proxies for Monitoring Tasks
1. Return to the General settings tab.2. Scroll down to the proxy selection area.3. Assign your newly added Toolip proxy to the monitoring tasks.4. Click Save to apply the settings.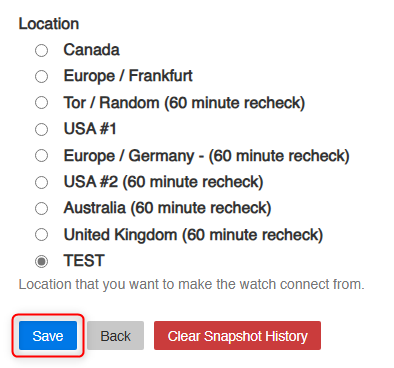
5
Start Monitoring
1. Set up your website monitoring tasks in ChangeDetection as usual.2. Your requests will now go through Toolip, ensuring privacy, security, and seamless tracking.