> ## Documentation Index
> Fetch the complete documentation index at: https://docs.toolip.io/llms.txt
> Use this file to discover all available pages before exploring further.
# How to Set Up Toolip With SocialPostCenter
> Ever wanted a centralized social media management tool that lets you create, schedule, and bulk upload posts across multiple platforms while providing detailed performance insights? Now, with Toolip and SocialPostCenter, you can do it all effortlessly!.
## What is SocialPostCenter?
**SocialPostCenter** allows you to manage all your social media accounts from a single dashboard, making it ideal for individuals, businesses, and digital marketers. Easily create and publish content across multiple platforms, schedule posts in advance, and save time by bulk uploading hundreds of posts in just a few clicks. Paired with **Toolip**, you gain access to a clear and intuitive dashboard, helping you track performance and refine your social media strategy efficiently.
Prefer an enterprise-grade guide? Learn more about Oculus Proxies Socialpostcenter Integration Guide.
Targeting search engines like Google, Bing, or Yandex requires a specialized proxy to ensure stable access and avoid blocks. **Toolip’s Search Engine ISP Proxies** are designed specifically for this, providing reliable performance where standard proxies may fail. If your proxy test isn't working on search engines, switching to **Search Engine ISP Proxies** can resolve the issue.
## How to Integrate Toolip With SocialPostCenter
Visit the [SocialPostCenter website](https://socialpostcenter.com/) and create an account.
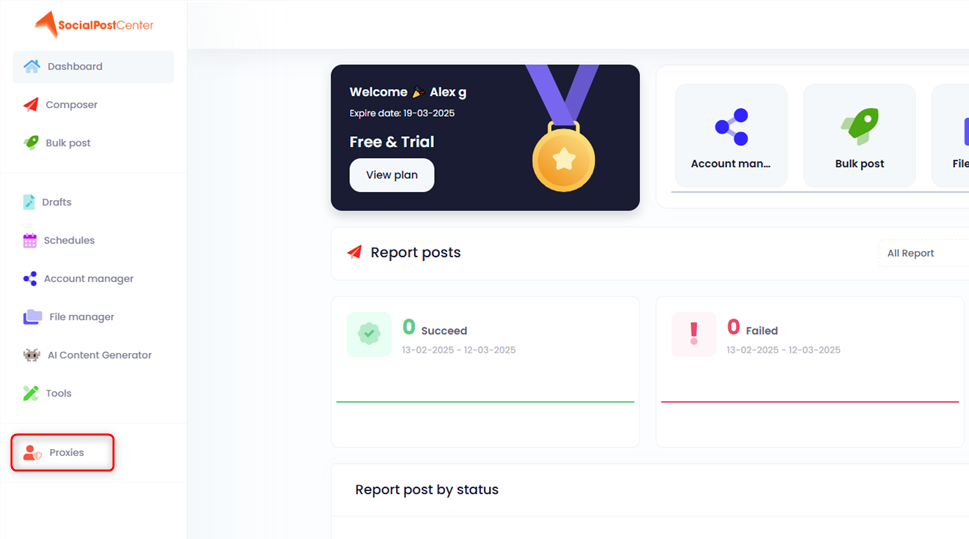
Go to your [dashboard](https://socialpostcenter.com/dashboard) and navigate to the **Proxies** section in the left menu.
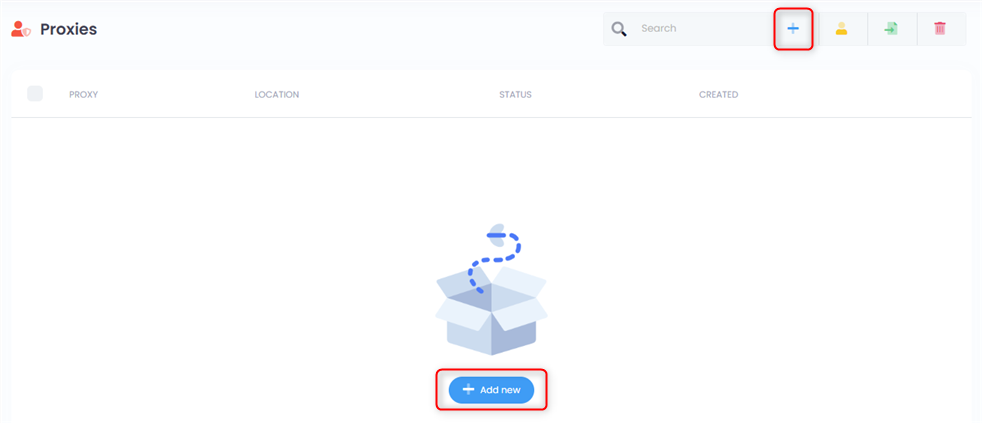
 If no proxies are shown, click **Add New**. Otherwise, press the **+ button** at the top.
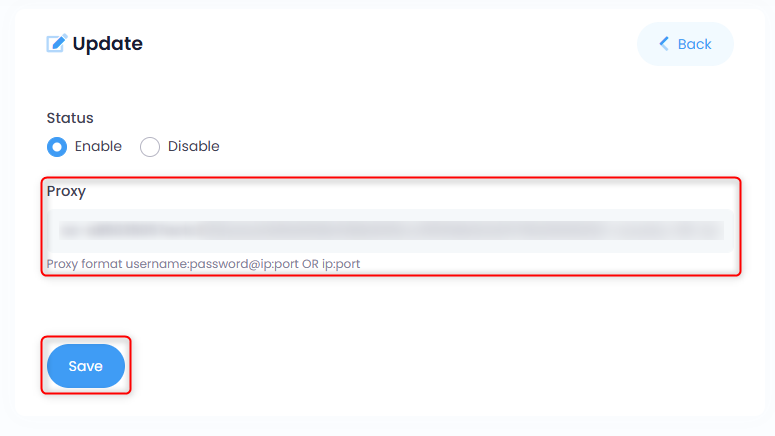
 In the pop-up window, enter your **proxy details** in the format: `username:password@host:port`, then click **Save**.
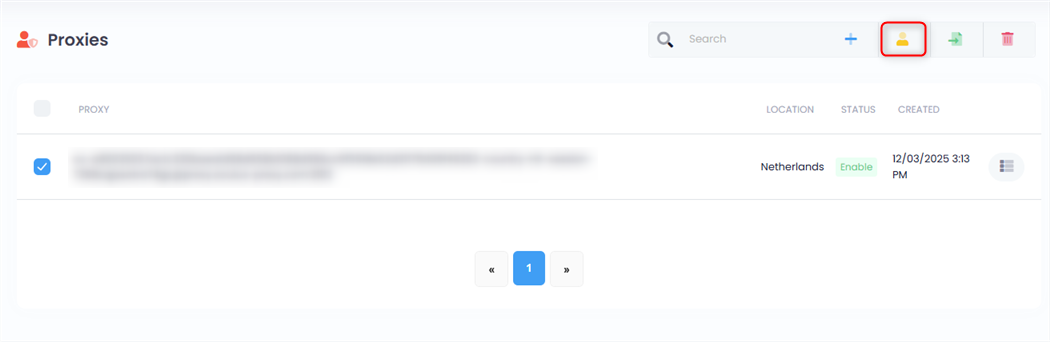
 Mark the newly added proxy and click the yellow **Assign button** at the top.
 Click the green **Assign button**, then choose the proxy from the list.
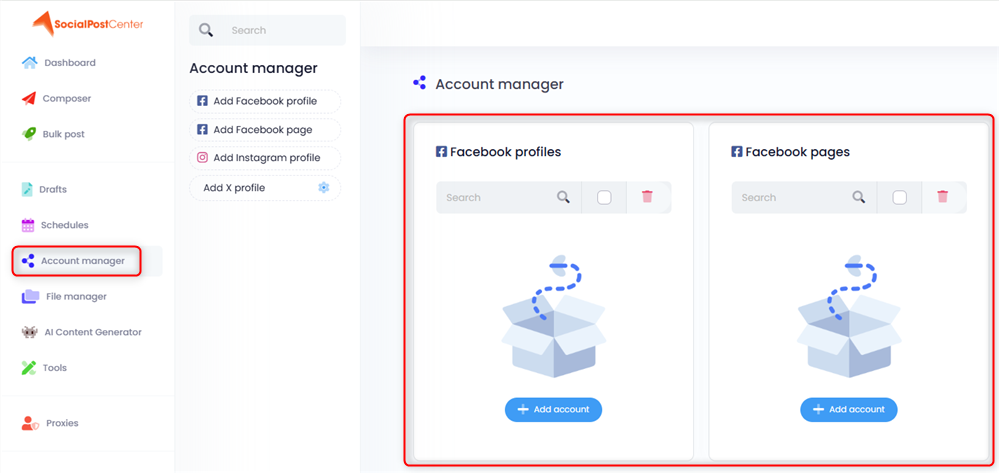
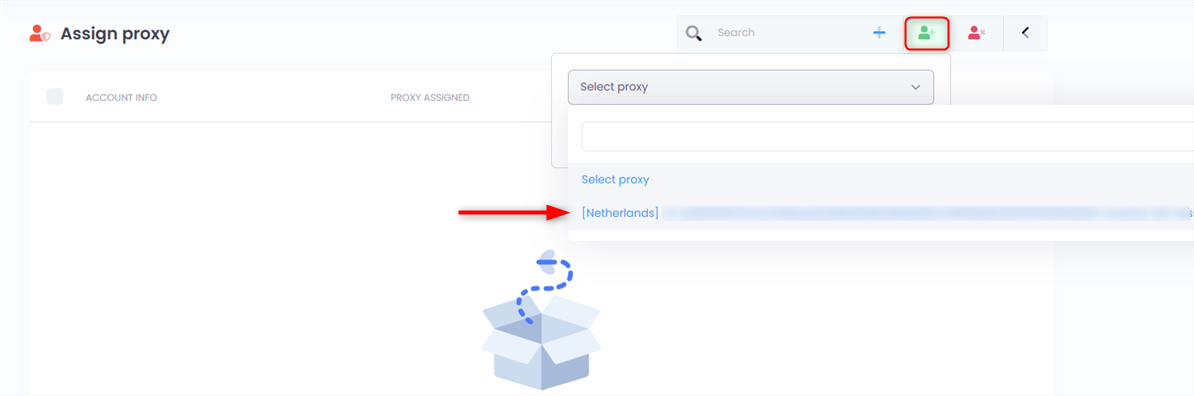 Make sure you have a social account linked via the [Account Manager](https://socialpostcenter.com/account_manager), then **assign the proxy to that profile**.