> ## Documentation Index
> Fetch the complete documentation index at: https://docs.toolip.io/llms.txt
> Use this file to discover all available pages before exploring further.
# How to Set Up Toolip With Signal
> Use the full potential of Signal with Toolip. Set up private, anonymous proxy connections to enhance privacy, bypass geo-restrictions, and enjoy secure, unrestricted communication anywhere.
## What is Signal?
**Signal** is a free, open-source messaging app that offers end-to-end encryption for instant messages, voice calls, and video calls. It supports sending text, voice notes, images, videos, and other files across platforms. By integrating **Toolip**, you can boost your anonymity, overcome geo-blocks, and secure your connection.
Prefer an enterprise-grade guide? Learn more about Oculus Proxies Signal Integration Guide.
Targeting search engines like Google, Bing, or Yandex requires a specialized proxy to ensure stable access and avoid blocks. **Toolip’s Search Engine ISP Proxies** are designed specifically for this, providing reliable performance where standard proxies may fail. If your proxy test isn't working on search engines, switching to **Search Engine ISP Proxies** can resolve the issue.
## How to Integrate Toolip With Signal
[Download](https://apps.apple.com/us/app/signal-private-messenger/id874139669) the Signal app from the App Store.
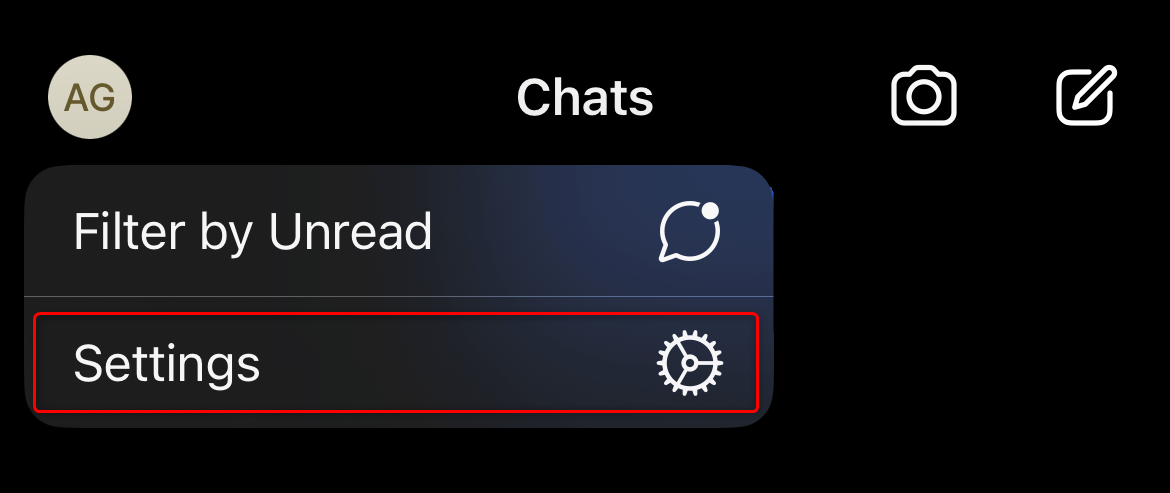
Open Signal and tap on your profile icon to enter the **Settings** menu.
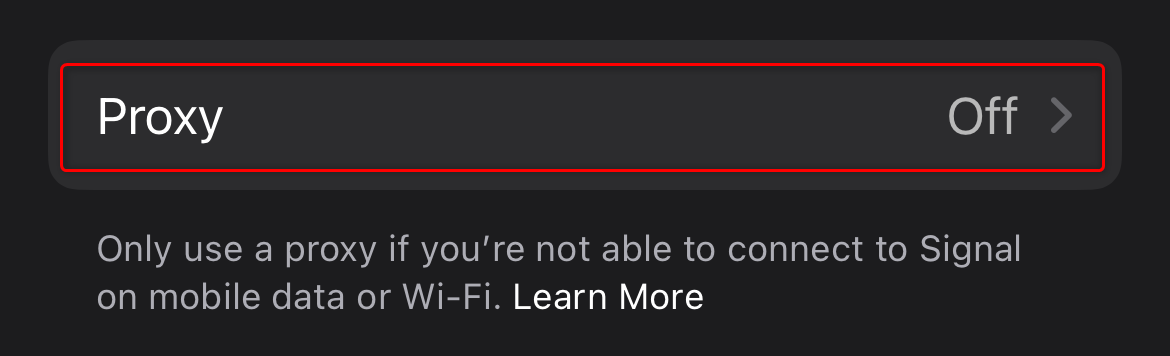
 Go to **Privacy → Advanced → Proxy**.
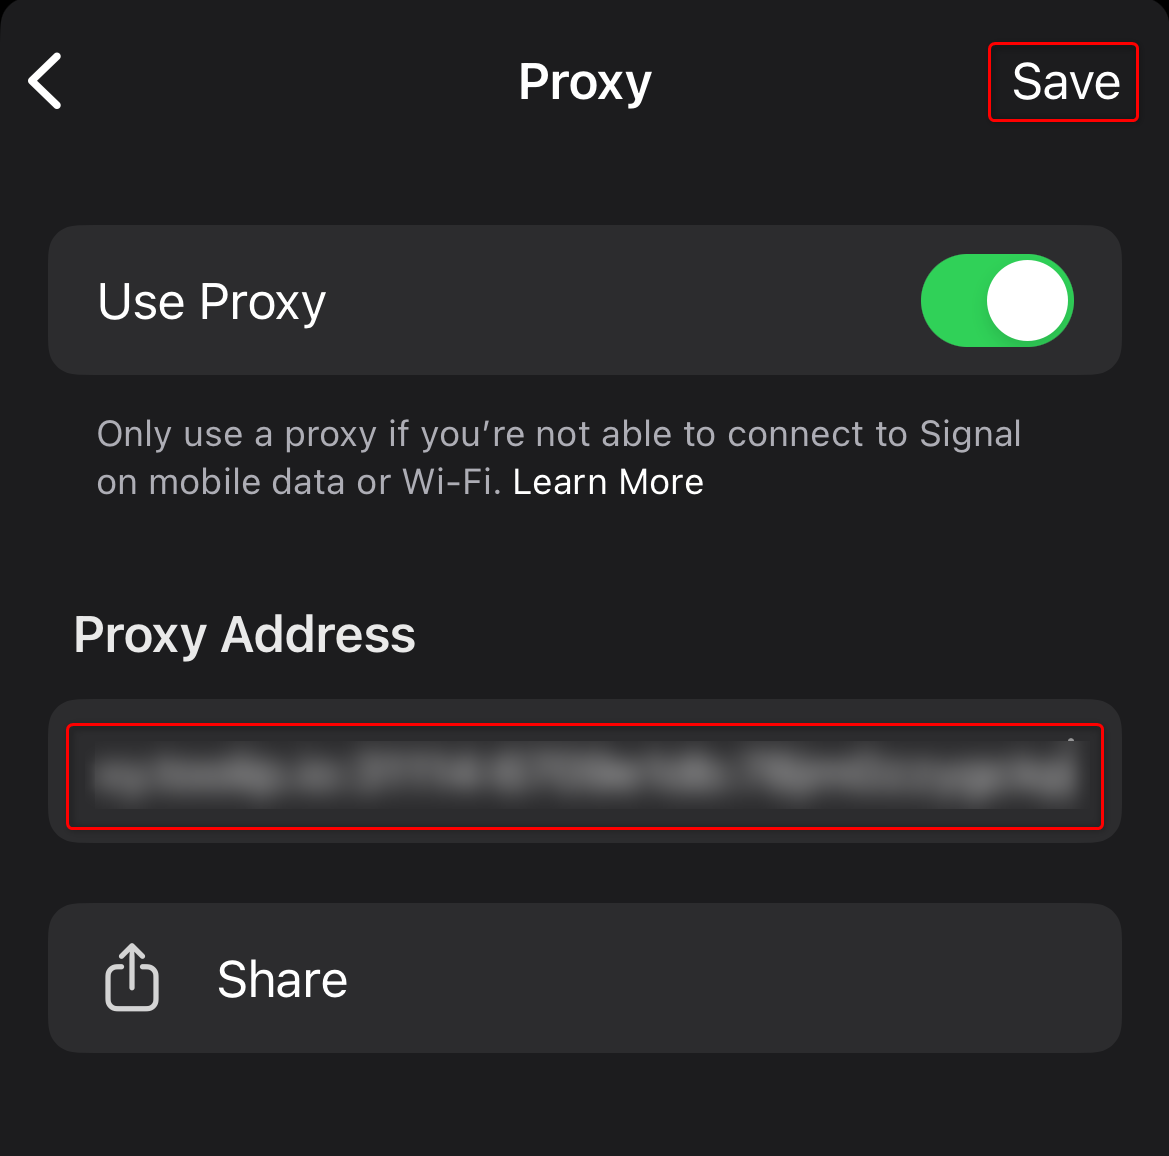
 Toggle on **Use Proxy**, enter your proxy credentials and tap **Save** to apply the configuration.
You can enter the proxy details using either of the following formats:
1. `host:port:username:password`
2. `host:port@username:password`
Toggle on **Use Proxy**, enter your proxy credentials and tap **Save** to apply the configuration.
You can enter the proxy details using either of the following formats:
1. `host:port:username:password`
2. `host:port@username:password`