> ## Documentation Index
> Fetch the complete documentation index at: https://docs.toolip.io/llms.txt
> Use this file to discover all available pages before exploring further.
# How to Set Up Toolip With Postern
> Integrate Toolip with Postern to manage your proxy configurations effortlessly. Follow this guide to securely configure proxies for efficient and uninterrupted browsing.
 ## What is Postern?
**Postern** is an advanced proxy management app for Android that allows users to route internet traffic through secure proxies. Supporting HTTP, HTTPS, and SOCKS5 proxies, it ensures privacy, enhances security, and optimizes connectivity. By integrating **Toolip**, you can unlock seamless access to geo-restricted content and boost network efficiency.
Prefer an enterprise-grade guide? Learn more about Oculus Proxies Postern Integration Guide.
Targeting search engines like Google, Bing, or Yandex requires a specialized proxy to ensure stable access and avoid blocks. **Toolip’s Search Engine ISP Proxies** are designed specifically for this, providing reliable performance where standard proxies may fail. If your proxy test isn't working on search engines, switching to **Search Engine ISP Proxies** can resolve the issue.
## How to Set Up Toolip With Postern
1\. Open the **Google Play Store** and search for **Postern**.
2\. Download and install the app on your Android device.
3\. Launch the app and grant any necessary permissions.
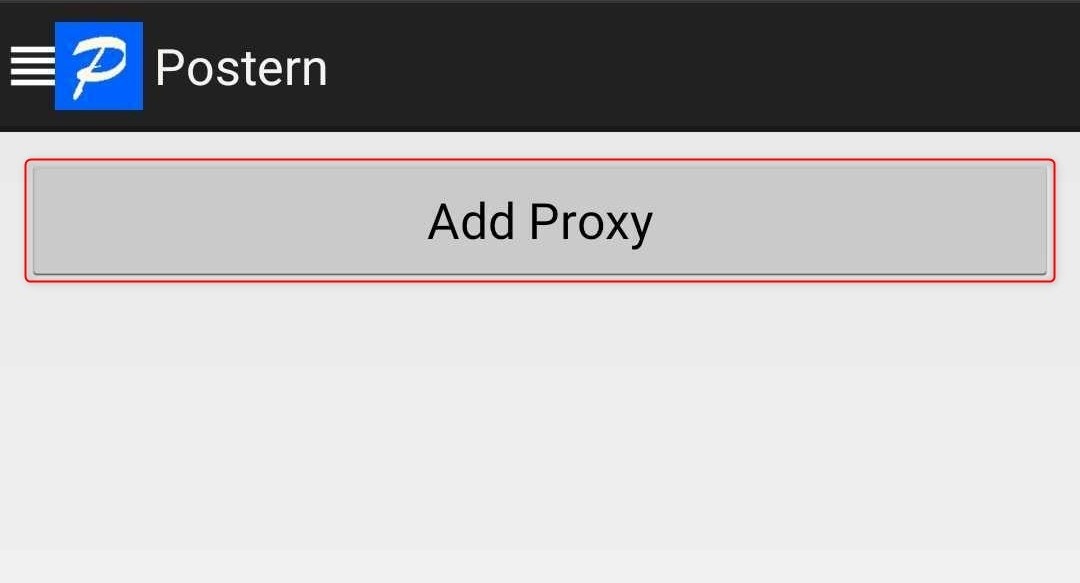
1\. Open **Postern** and tap **Add Proxy** to start configuring a new proxy.
## What is Postern?
**Postern** is an advanced proxy management app for Android that allows users to route internet traffic through secure proxies. Supporting HTTP, HTTPS, and SOCKS5 proxies, it ensures privacy, enhances security, and optimizes connectivity. By integrating **Toolip**, you can unlock seamless access to geo-restricted content and boost network efficiency.
Prefer an enterprise-grade guide? Learn more about Oculus Proxies Postern Integration Guide.
Targeting search engines like Google, Bing, or Yandex requires a specialized proxy to ensure stable access and avoid blocks. **Toolip’s Search Engine ISP Proxies** are designed specifically for this, providing reliable performance where standard proxies may fail. If your proxy test isn't working on search engines, switching to **Search Engine ISP Proxies** can resolve the issue.
## How to Set Up Toolip With Postern
1\. Open the **Google Play Store** and search for **Postern**.
2\. Download and install the app on your Android device.
3\. Launch the app and grant any necessary permissions.
1\. Open **Postern** and tap **Add Proxy** to start configuring a new proxy.
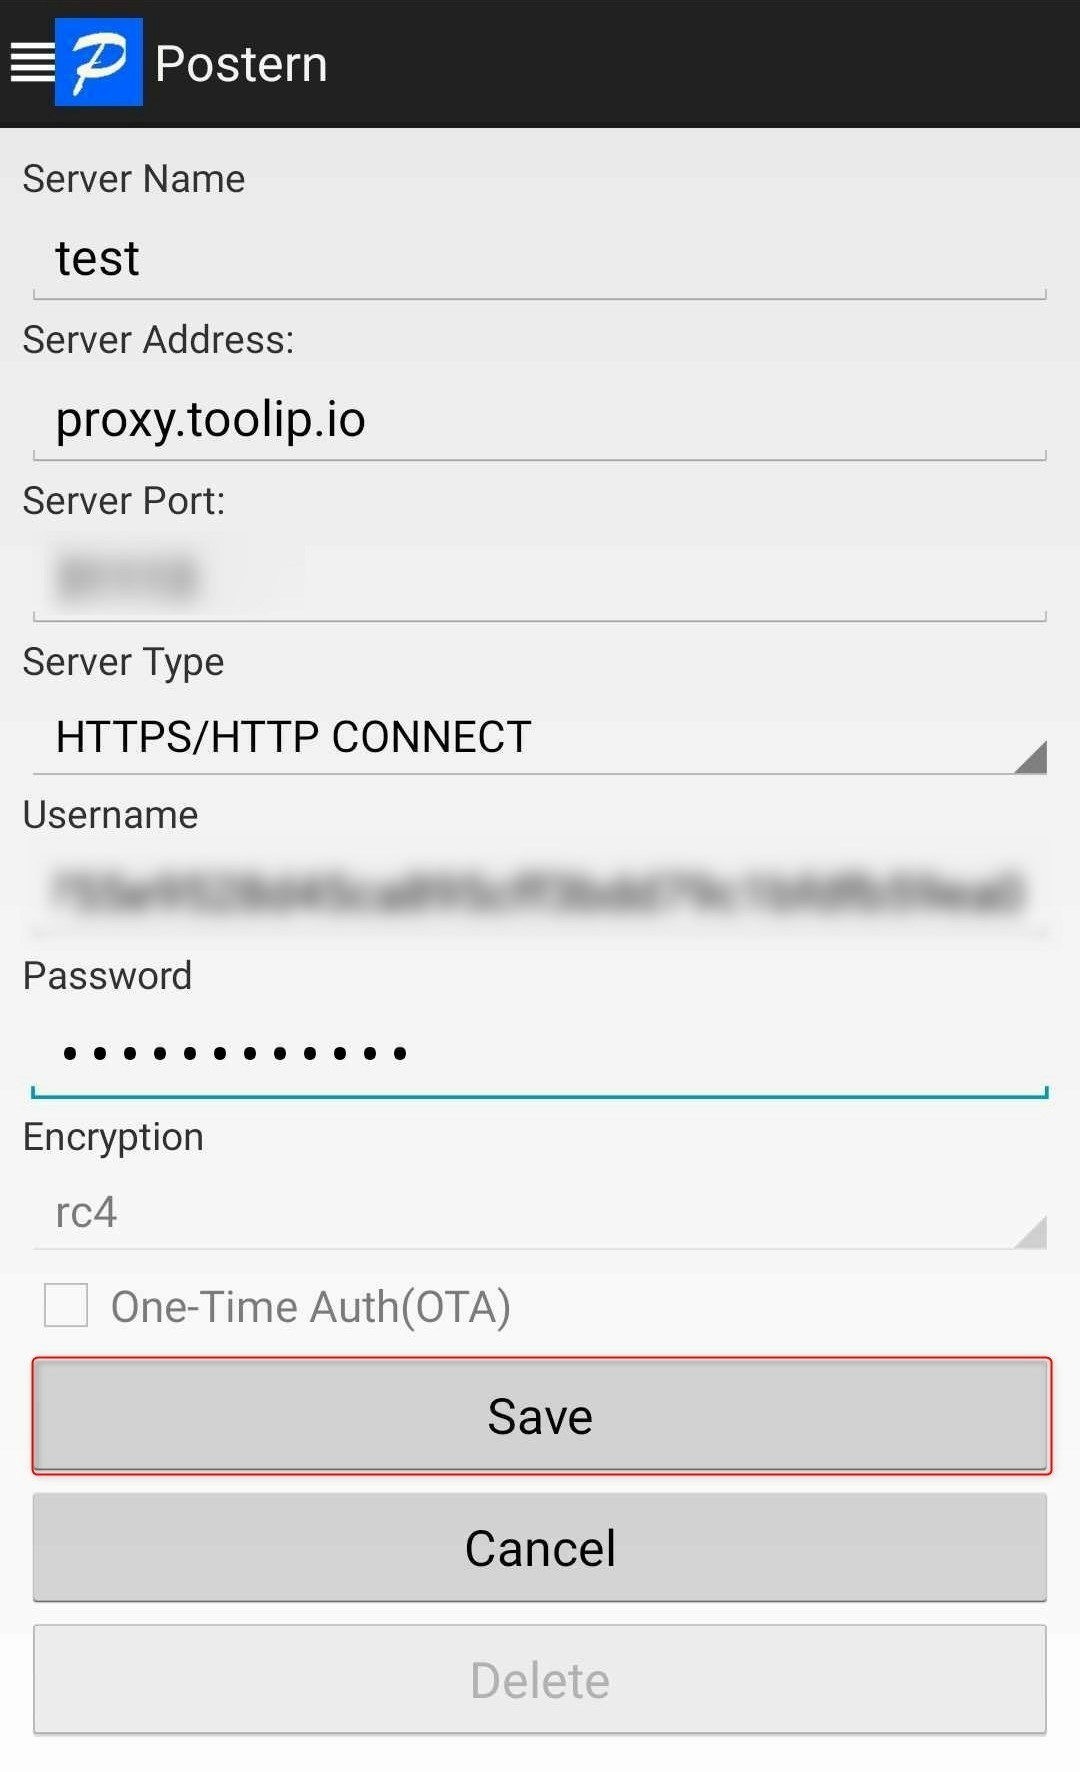
 2\. Fill in your **Toolip proxy** details:
* **Server Name**: Enter a descriptive name (e.g., "Toolip Proxy").
* **Server Address**: `proxy.toolip.io`
* **Server Port**: Use the port number provided in your [Toolip dashboard](https://toolip.io/dashboard/page/plans).
* **Server Type**: Select **HTTP, HTTPS, or SOCKS5** based on your proxy type.
* **Username**: Enter your Toolip username.
* **Password**: Enter your Toolip password.
3\. Tap **Save** to store the proxy configuration.
2\. Fill in your **Toolip proxy** details:
* **Server Name**: Enter a descriptive name (e.g., "Toolip Proxy").
* **Server Address**: `proxy.toolip.io`
* **Server Port**: Use the port number provided in your [Toolip dashboard](https://toolip.io/dashboard/page/plans).
* **Server Type**: Select **HTTP, HTTPS, or SOCKS5** based on your proxy type.
* **Username**: Enter your Toolip username.
* **Password**: Enter your Toolip password.
3\. Tap **Save** to store the proxy configuration.
 **Need a location-based proxy?** Update your username format by adding a country code (e.g., `your-username-country-US`) to route traffic through a specific region.
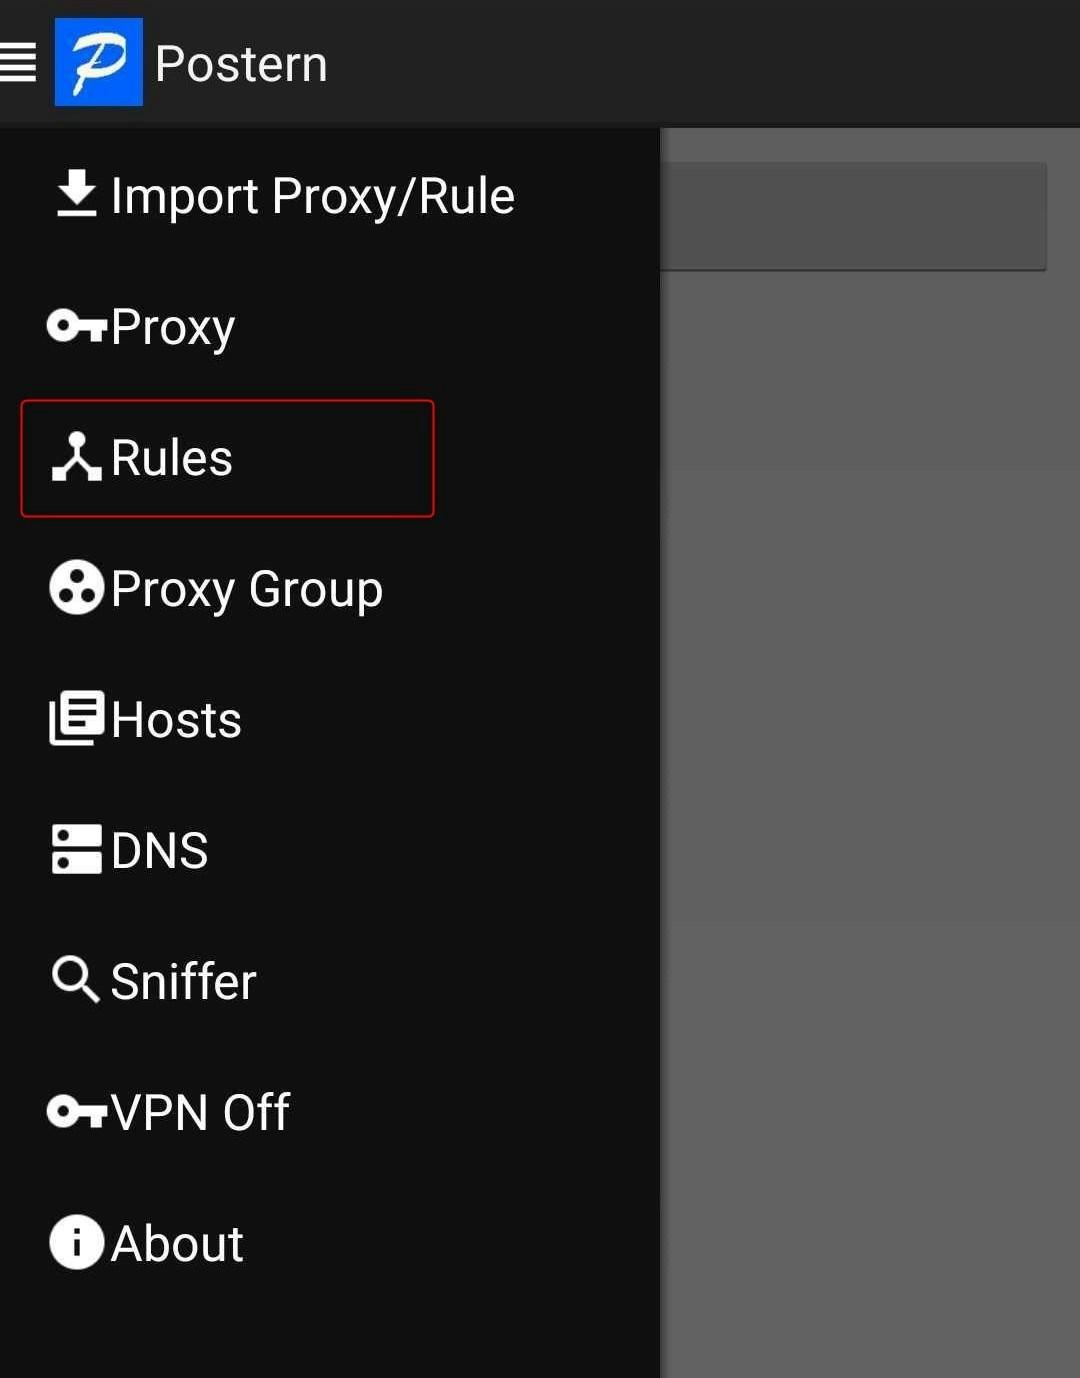
1\. In the **Postern** menu, navigate to **Rules**.
**Need a location-based proxy?** Update your username format by adding a country code (e.g., `your-username-country-US`) to route traffic through a specific region.
1\. In the **Postern** menu, navigate to **Rules**.
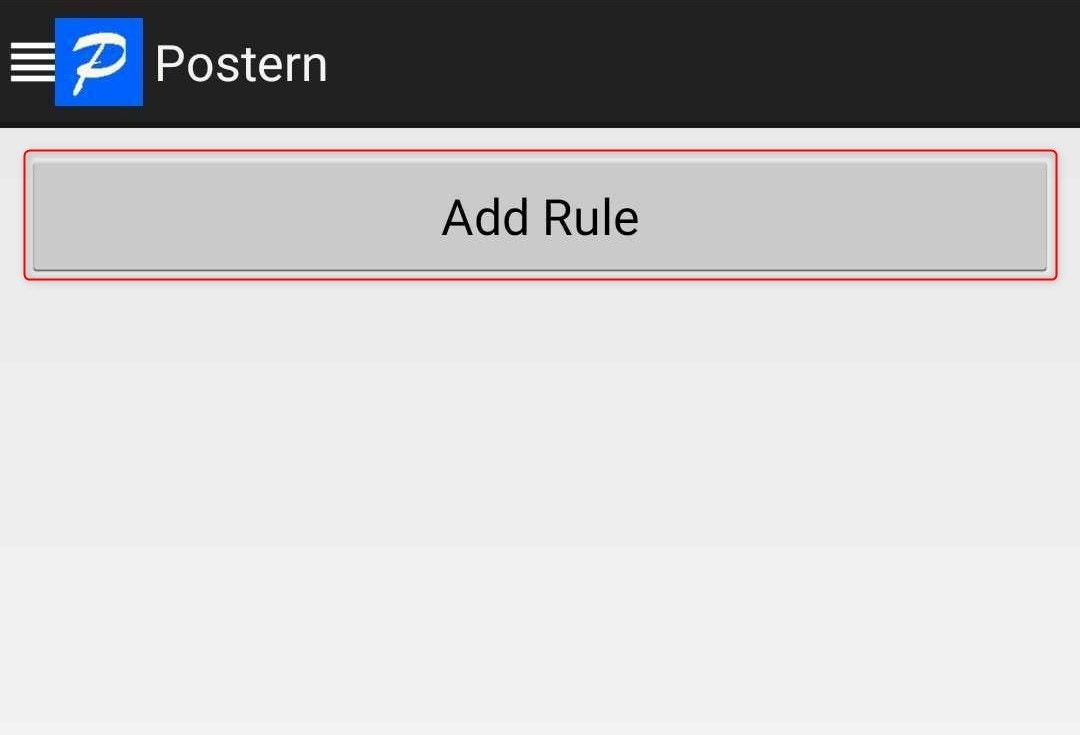
 2\. Tap **Add Rule** to create a new rule for your proxy.
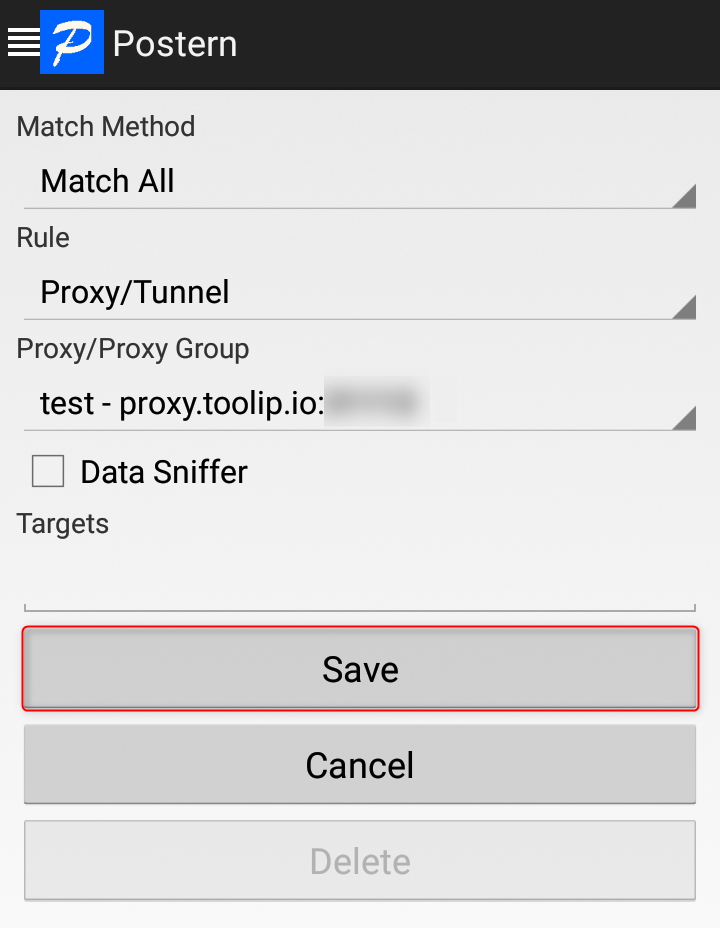
 3\. Set up the rule:
* **Match Method**: Select **Match All** to route all traffic through the proxy.
* **Rule Type**: Choose **Proxy/Tunnel**.
* **Proxy/Proxy Group**: Select your configured Toolip proxy.
4\. Tap **Save** to apply the rule.
3\. Set up the rule:
* **Match Method**: Select **Match All** to route all traffic through the proxy.
* **Rule Type**: Choose **Proxy/Tunnel**.
* **Proxy/Proxy Group**: Select your configured Toolip proxy.
4\. Tap **Save** to apply the rule.
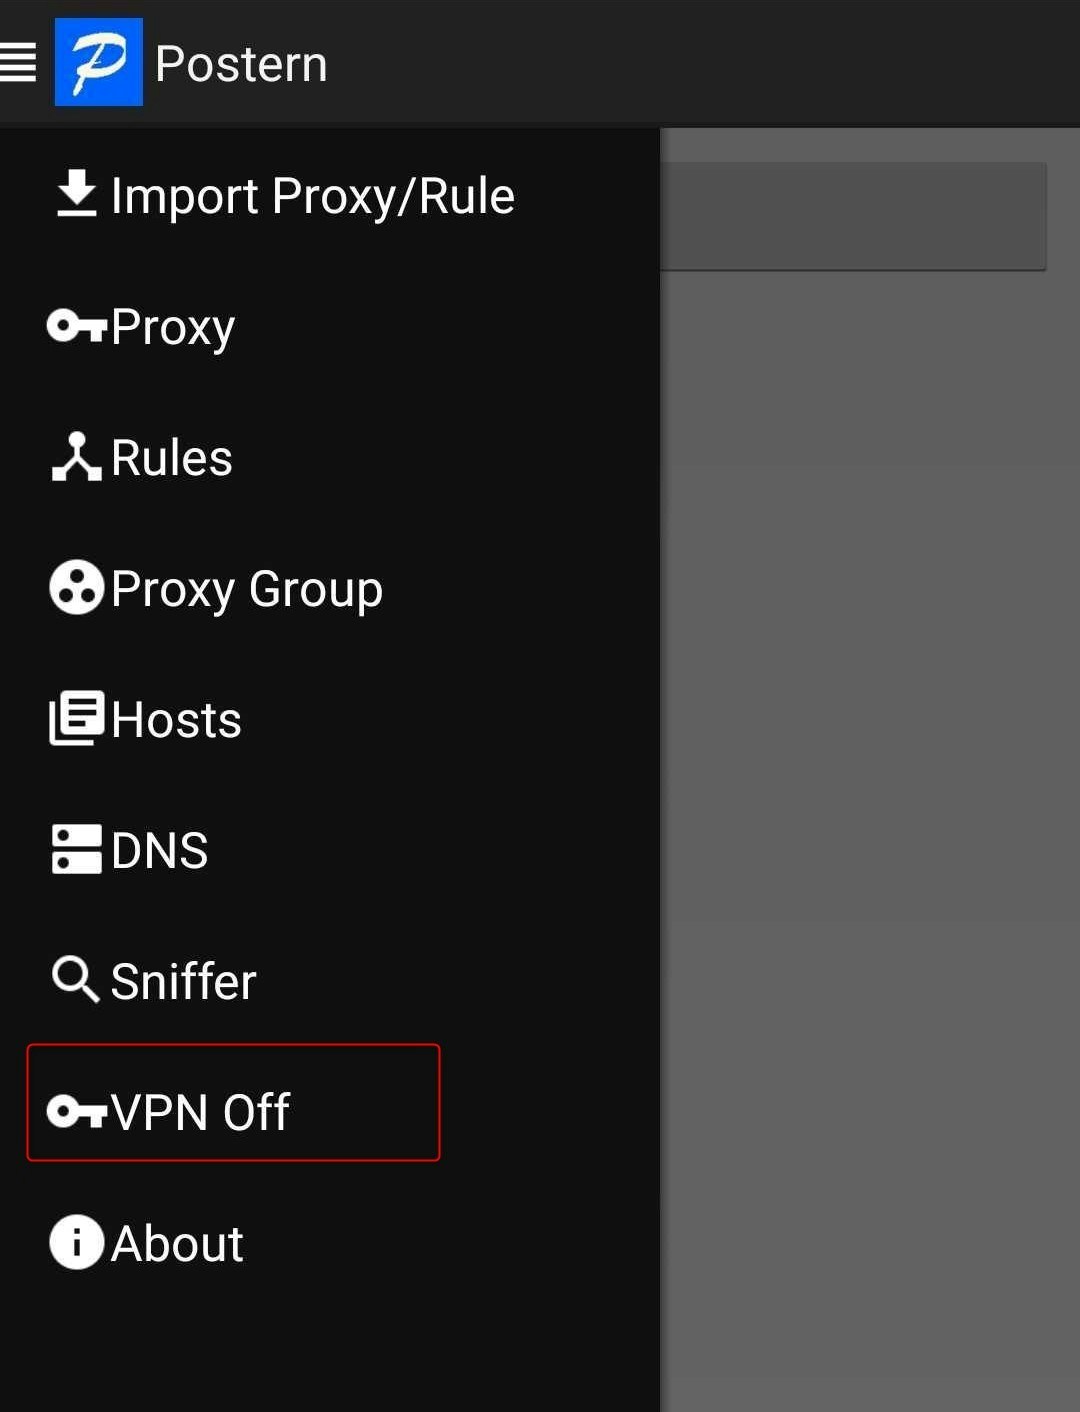
 1\. Open the app menu and toggle **VPN Off** to activate the proxy.
2\. Once enabled, all internet traffic will be securely routed through your **Toolip** proxy.
1\. Open the app menu and toggle **VPN Off** to activate the proxy.
2\. Once enabled, all internet traffic will be securely routed through your **Toolip** proxy.
 Now that **Toolip** is integrated with **Postern**, your browsing and app traffic are secured, private, and unrestricted. Whether you need a reliable connection for work, travel, or automation, this setup ensures smooth and efficient network performance.