> ## Documentation Index
> Fetch the complete documentation index at: https://docs.toolip.io/llms.txt
> Use this file to discover all available pages before exploring further.
# How to Set Up Toolip With PhantomBuster
> Optimize your automation workflows by integrating Toolip with PhantomBuster. This guide will walk you through configuring secure proxy connections for efficient and anonymous data gathering.
 ## What is PhantomBuster?
**PhantomBuster** is a cloud-based automation platform that helps streamline repetitive online tasks, such as lead generation, data extraction, and social media engagement. Instead of manually handling these processes, PhantomBuster automates them, allowing you to focus on strategy and growth.
By integrating **Toolip**, you can ensure your automation runs smoothly, remains undetectable, and bypasses geo-restrictions effectively.
Prefer an enterprise-grade guide? Learn more about Oculus Proxies Phantombuster Integration Guide.
Targeting search engines like Google, Bing, or Yandex requires a specialized proxy to ensure stable access and avoid blocks. **Toolip’s Search Engine ISP Proxies** are designed specifically for this, providing reliable performance where standard proxies may fail. If your proxy test isn't working on search engines, switching to **Search Engine ISP Proxies** can resolve the issue.
## How to Integrate Toolip With PhantomBuster
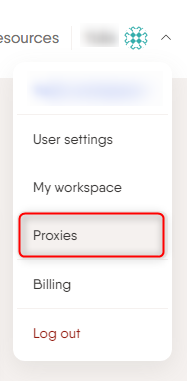
1\. Log in to your [PhantomBuster account](https://phantombuster.com/).
2\. Navigate to the **Proxies** section from your dashboard.
## What is PhantomBuster?
**PhantomBuster** is a cloud-based automation platform that helps streamline repetitive online tasks, such as lead generation, data extraction, and social media engagement. Instead of manually handling these processes, PhantomBuster automates them, allowing you to focus on strategy and growth.
By integrating **Toolip**, you can ensure your automation runs smoothly, remains undetectable, and bypasses geo-restrictions effectively.
Prefer an enterprise-grade guide? Learn more about Oculus Proxies Phantombuster Integration Guide.
Targeting search engines like Google, Bing, or Yandex requires a specialized proxy to ensure stable access and avoid blocks. **Toolip’s Search Engine ISP Proxies** are designed specifically for this, providing reliable performance where standard proxies may fail. If your proxy test isn't working on search engines, switching to **Search Engine ISP Proxies** can resolve the issue.
## How to Integrate Toolip With PhantomBuster
1\. Log in to your [PhantomBuster account](https://phantombuster.com/).
2\. Navigate to the **Proxies** section from your dashboard.
 1\. Click **New Proxy Pool** to create a collection of Toolip proxies.
2\. This allows you to manage multiple proxies in one place.
1\. Click **New Proxy Pool** to create a collection of Toolip proxies.
2\. This allows you to manage multiple proxies in one place.
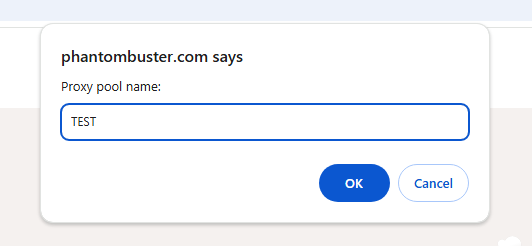
 1\. Assign a meaningful name to your proxy pool for easy identification.
 1\. Log in to your [Toolip dashboard](https://toolip.io/dashboard/page/plans).
2\. Click **Show Configured List** and copy the proxy details under the **Generic** tab.
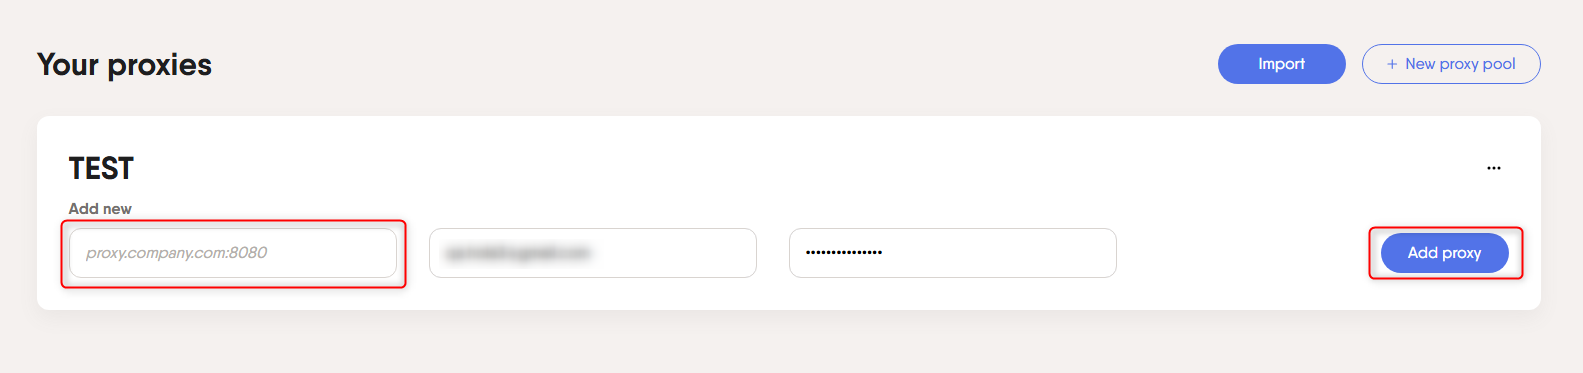
3\. Paste the copied proxy details into the **Add new** field in PhantomBuster.
3\. Click **Add Proxy** to save the configuration.
1\. Log in to your [Toolip dashboard](https://toolip.io/dashboard/page/plans).
2\. Click **Show Configured List** and copy the proxy details under the **Generic** tab.
3\. Paste the copied proxy details into the **Add new** field in PhantomBuster.
3\. Click **Add Proxy** to save the configuration.
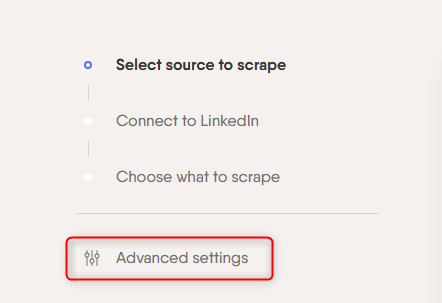
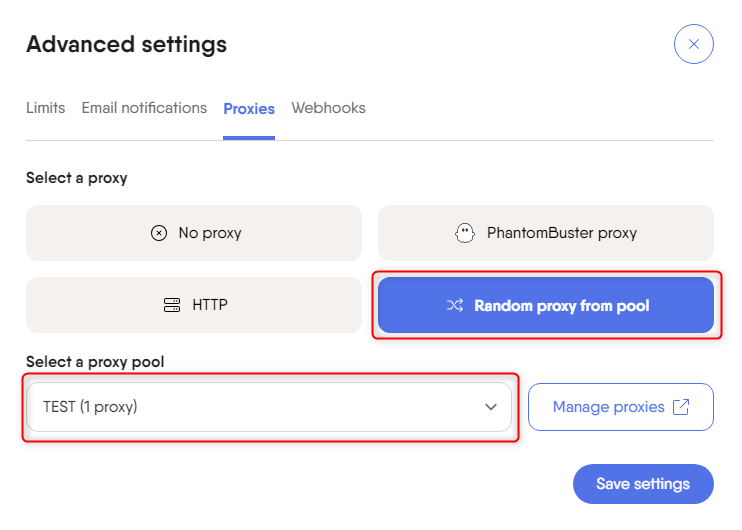
 1\. When setting up a Phantom (automation task), go to the **Advanced Settings**.
2\. Select the proxy pool you created to apply it to your workflow.
1\. When setting up a Phantom (automation task), go to the **Advanced Settings**.
2\. Select the proxy pool you created to apply it to your workflow.
 1\. In **Advanced Settings**, click **Save Settings**.
2\. Your automation will now run with Toolip proxies for enhanced security and anonymity.
1\. In **Advanced Settings**, click **Save Settings**.
2\. Your automation will now run with Toolip proxies for enhanced security and anonymity.
 Your **Toolip** are now fully integrated with **PhantomBuster**! With this setup, your automation tasks will run more securely, with reduced chances of blocks and improved efficiency. Enjoy seamless data extraction and account management with complete anonymity.