> ## Documentation Index
> Fetch the complete documentation index at: https://docs.toolip.io/llms.txt
> Use this file to discover all available pages before exploring further.
# How to Set Up Toolip With Norconex
> Flexible, region-specific, reliable web crawling? Norconex with Toolip is the answer
## What is Norconex?
**Norconex** is a Java-based, open-source web crawler focused on flexibility and customization. It supports various file types, integrates with third-party tools, and uses XML for configuration. Key features include data collection, parsing, and committing, OCR, JavaScript crawling, and robots.txt compliance—ideal for indexing, content gathering, and website optimization. Together with **Toolip** you will bypass geo-restrictions, avoid IP bans, and ensure more reliable, region-specific data collection during large-scale web crawling.
Prefer an enterprise-grade guide? Learn more about Oculus Proxies Norconex Integration Guide.
Targeting search engines like Google, Bing, or Yandex requires a specialized proxy to ensure stable access and avoid blocks. **Toolip’s Search Engine ISP Proxies** are designed specifically for this, providing reliable performance where standard proxies may fail. If your proxy test isn’t working on search engines, switching to **Search Engine ISP Proxies** can resolve the issue.
## How to Set Up Toolip With Norconex
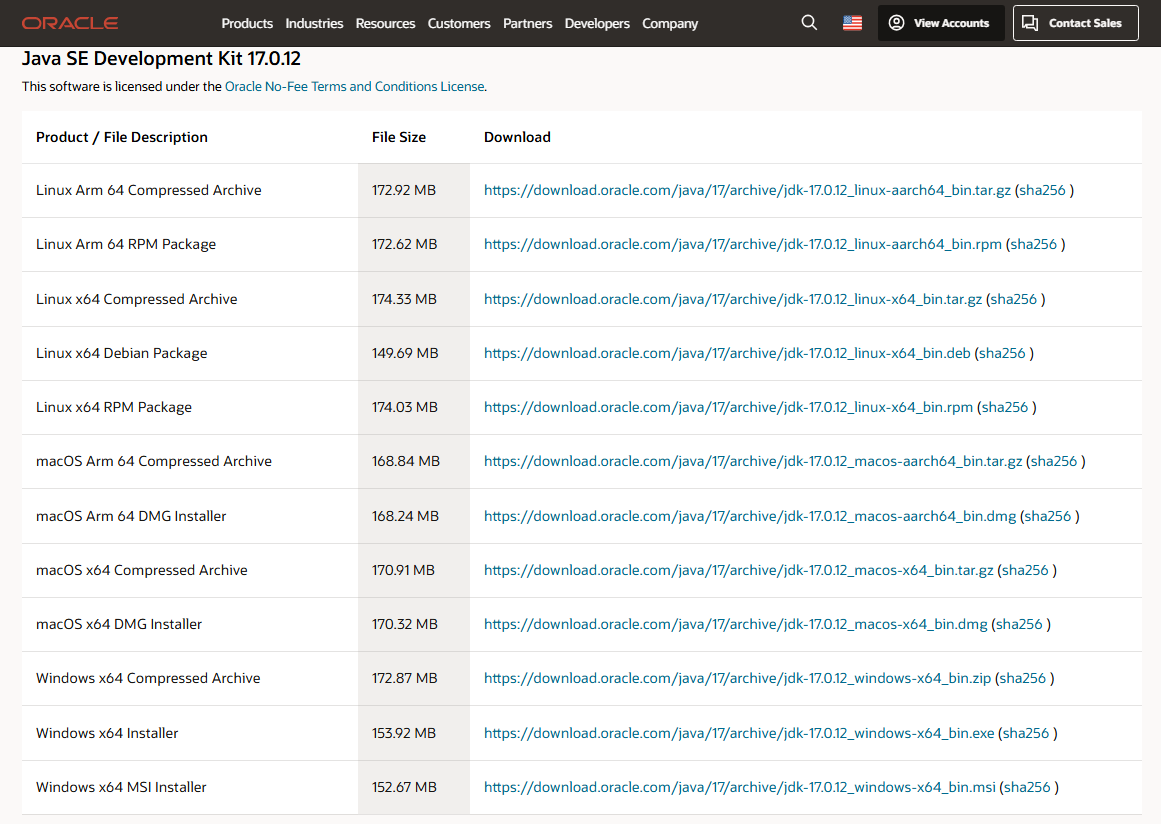
Download and install the appropriate version of [**Java(JDK)**](https://www.oracle.com/java/technologies/javase/jdk17-archive-downloads.html) for your operating system.
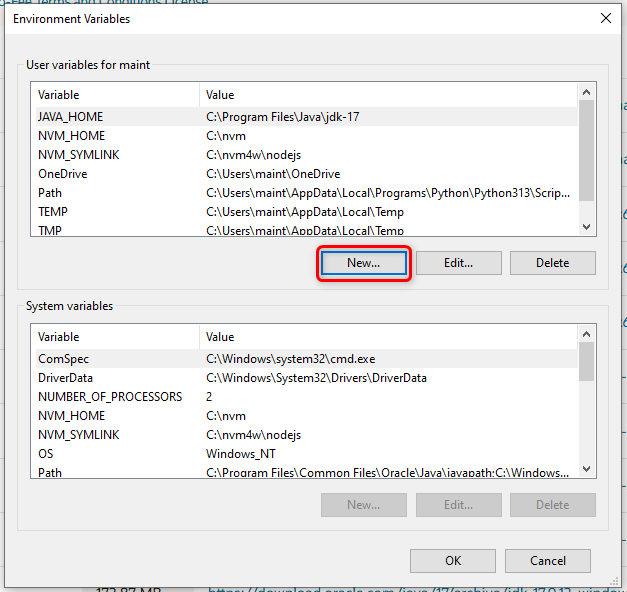
 Search for **Environment Variables** in the Windows search bar and select **Edit the system environment variables**. Under **User variables for \[USERNAME]**.
Click **New**.
Search for **Environment Variables** in the Windows search bar and select **Edit the system environment variables**. Under **User variables for \[USERNAME]**.
Click **New**.
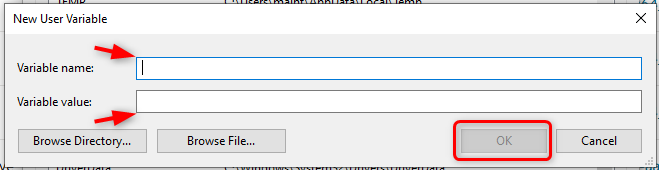
 In the **Variable name** field, enter `JAVA_HOME`.
In the **Variable value** field, paste the path to your `JDK installation directory`.
Then click **OK**.
In the **Variable name** field, enter `JAVA_HOME`.
In the **Variable value** field, paste the path to your `JDK installation directory`.
Then click **OK**.
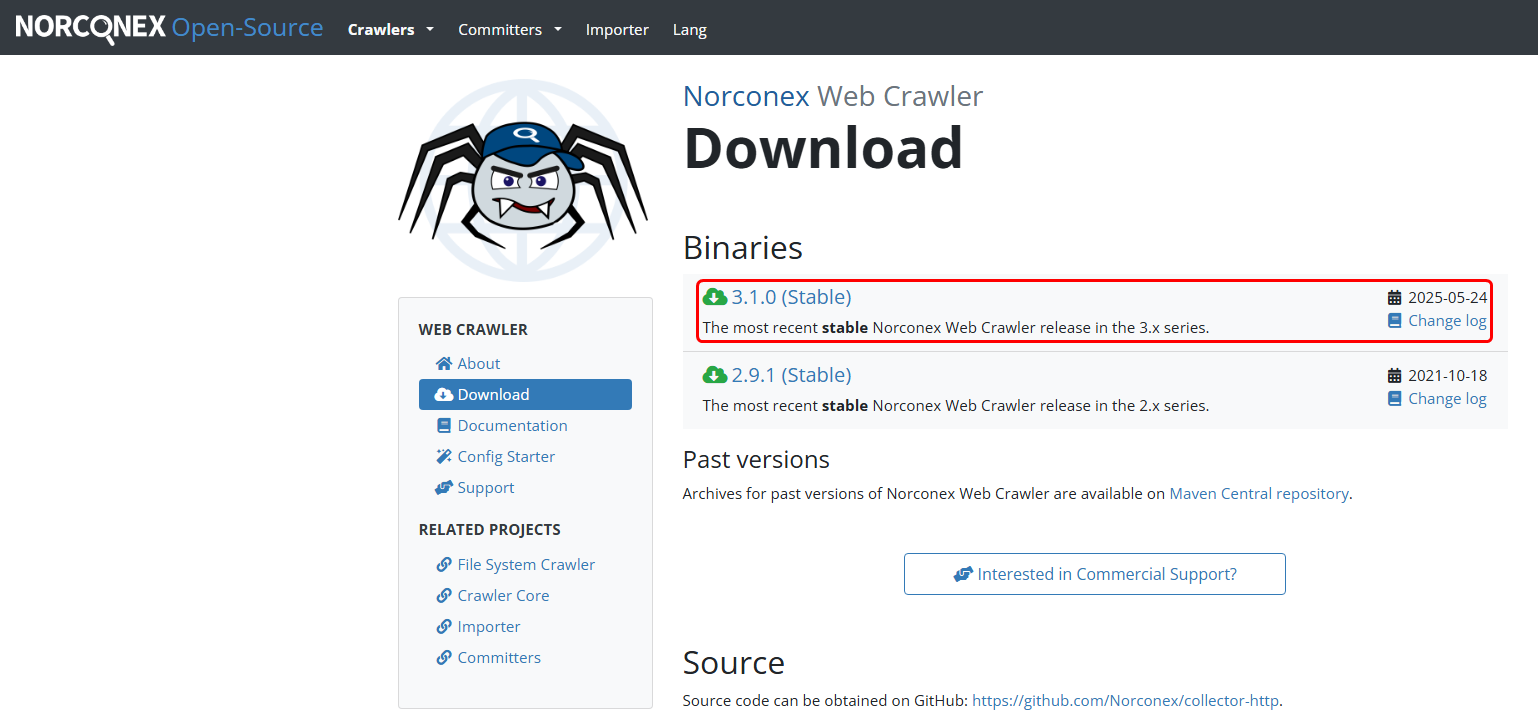
 Download and install the **latest version of [Norconex](https://opensource.norconex.com/crawlers/web/)** from the official website.
 Create a folder for Norconex (e.g., C:\Norconex).
Right-click the downloaded .zip file and extract its contents into this folder.
Then, navigate to:
`Norconex → Examples → collector-http-config-reference.xml`
Right-click the file and open it in a code editor (e.g., Notepad).
Inside the file, locate the `` and `` tags.
Insert the required configuration code between these tags.
```bash theme={null}
proxy.toolip.io
12321 <-Replace with your port
http <-or “https” if you bought TLS exits
your-username <-Replace with your username
your-password <-Replace with your password
.sample\.co\.jp. <-Apply proxy only for matching URLs
```
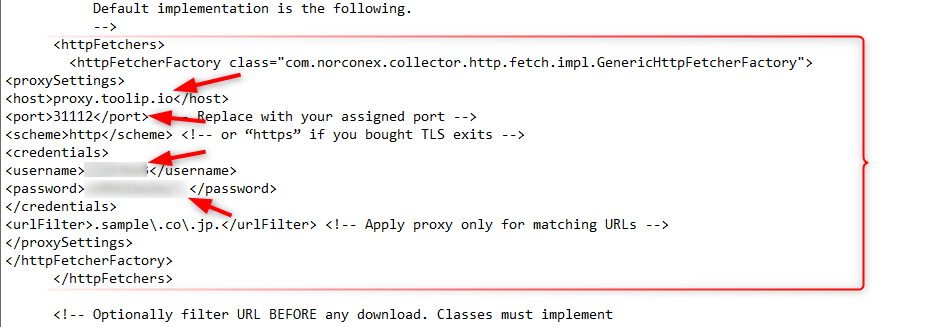
Ensure the XML structure reflects your changes correctly.
It should look like this:
Create a folder for Norconex (e.g., C:\Norconex).
Right-click the downloaded .zip file and extract its contents into this folder.
Then, navigate to:
`Norconex → Examples → collector-http-config-reference.xml`
Right-click the file and open it in a code editor (e.g., Notepad).
Inside the file, locate the `` and `` tags.
Insert the required configuration code between these tags.
```bash theme={null}
proxy.toolip.io
12321 <-Replace with your port
http <-or “https” if you bought TLS exits
your-username <-Replace with your username
your-password <-Replace with your password
.sample\.co\.jp. <-Apply proxy only for matching URLs
```
Ensure the XML structure reflects your changes correctly.
It should look like this: