> ## Documentation Index
> Fetch the complete documentation index at: https://docs.toolip.io/llms.txt
> Use this file to discover all available pages before exploring further.
# How to Set Up Toolip With Accovod Browser
> Boost your efficiency and simplify multi-account management with Toolip in Accovod Browser. This guide will help you configure secure and reliable proxy connections for seamless browsing and enhanced privacy.
## What is Accovod Browser?
**Accovod Browser** is a powerful tool designed to simplify multi-account management and maximize workflow efficiency. It eliminates the hassle of handling multiple browser windows by keeping all profiles in one place, allowing seamless switching with a single click. Whether you're managing ad accounts, running marketing campaigns, or handling multiple online identities, Accovod ensures a smooth and secure browsing experience. With Toolip, you can further enhance privacy, utilize secure proxy connections, and optimize your online operations.
Prefer an enterprise-grade guide? Learn more about Oculus Proxies Accovod Integration Guide.
Targeting search engines like Google, Bing, or Yandex requires a specialized proxy to ensure stable access and avoid blocks. **Toolip’s Search Engine ISP Proxies** are designed specifically for this, providing reliable performance where standard proxies may fail. If your proxy test isn't working on search engines, switching to **Search Engine ISP Proxies** can resolve the issue.
## How to Set Up Toolip With Accovod Browser
[Get Accovod Browser](https://accovod.com/) and complete the installation process.
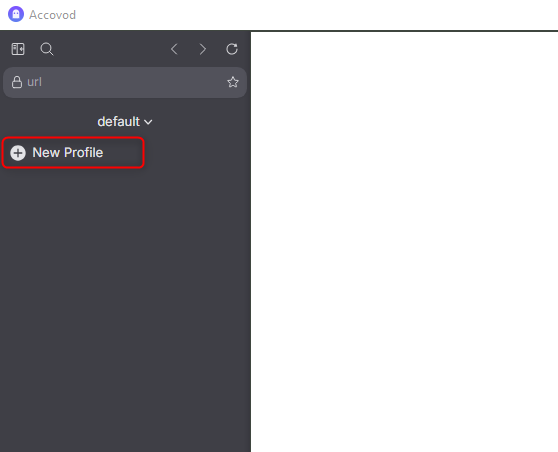
Launch Accovod and set up a **New Profile**.
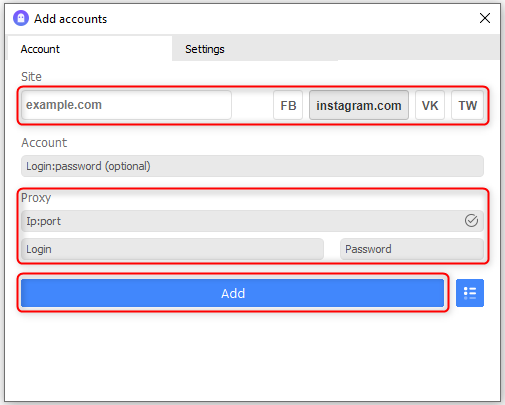
 Select the **website you want to browse** and enter the **Proxy details**. Make sure to input the `host:port` together in one field, then click **Add**.
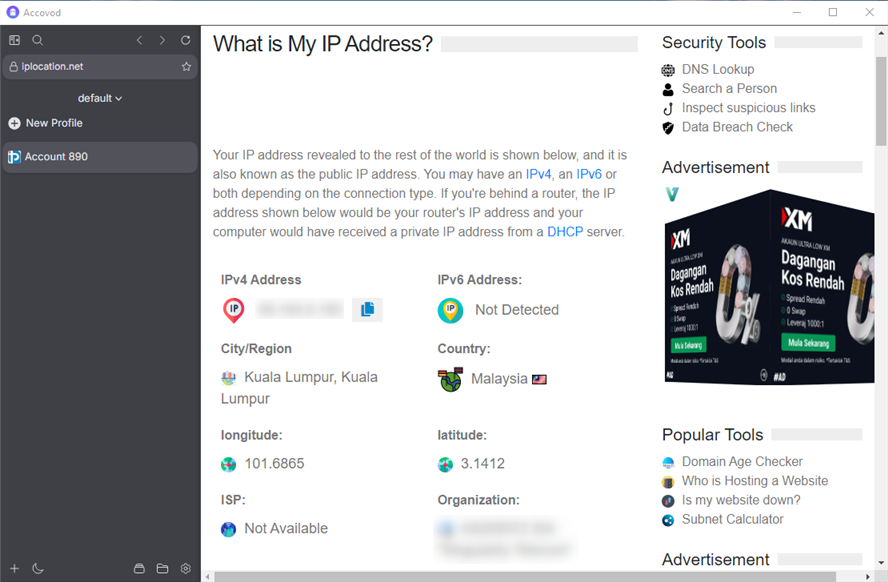
 Your newly created profile will appear on the left, and the website will be ready on the right — enjoy secure and efficient browsing!