> ## Documentation Index
> Fetch the complete documentation index at: https://docs.toolip.io/llms.txt
> Use this file to discover all available pages before exploring further.
# Toolip.io n8n node
> Take full control of your proxies directly in n8n — configure, rotate, and monitor with Toolip in seconds!
Prefer an enterprise-grade guide? Learn more about Oculus Proxies Proxy API Overview.
## What is n8n?
**n8n** is a powerful, open-source workflow automation tool that lets you connect apps, APIs, and services with a visual, no-code interface. It enables you to build complex automations using over 300 integrations or custom logic with JavaScript.
## Why use Toolip with n8n?
**n8n-nodes-toolip** is a custom community node built to bring the full power of Toolip’s global proxy infrastructure directly into your n8n workflows — in seconds! From configuring and rotating proxies to monitoring usage and managing subscriptions, this node gives you complete control over your proxy operations, all from your automation canvas.
## How to integrate Toolip with n8n?
Head to Toolip’s [npm page](https://www.npmjs.com/package/n8n-nodes-toolip) to download the node, or simply run this in your terminal:
```bash theme={null}
npm i n8n-nodes-toolip
```
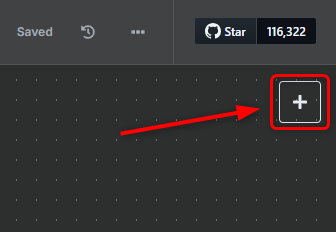
Click the **+ button** in the top-right corner of your workflow editor to add a new node.
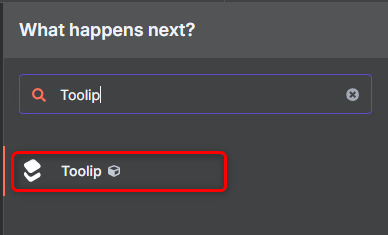
 Type **Toolip** into the search bar and select it from the list of available nodes.
 Click **Create new credentials** to link your Toolip account to the node.
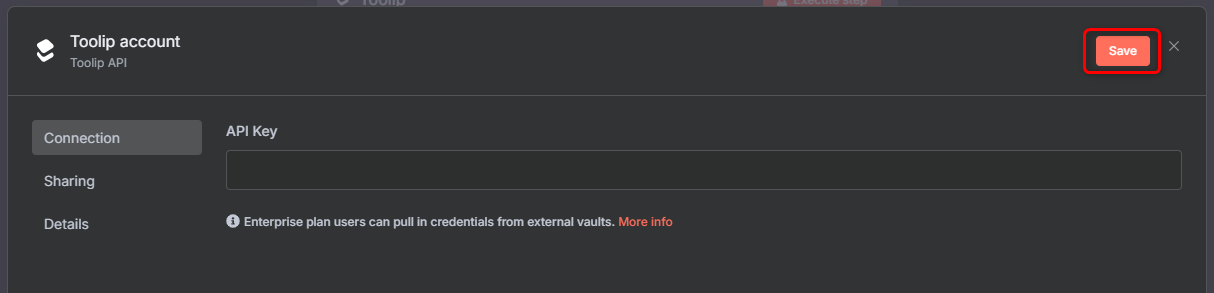
 Drop your **API Key** from the Toolip dashboard and click **Save**. Not sure where to find it? [Check here](https://docs.toolip.io/api-reference/api-token).
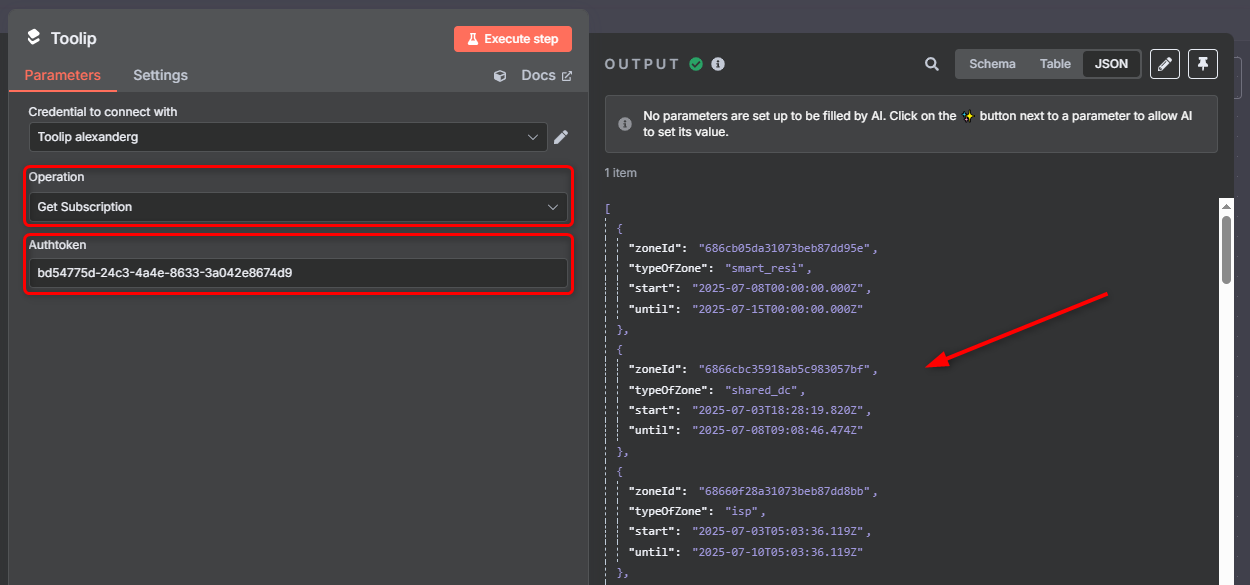
 Choose the `Get Subscription` operation, insert the `Authtoken`(the API key). Then, **run the node!** You'll see all your **zones(proxy subscriptions)** on the right with `type`, `start` date and `until` date.
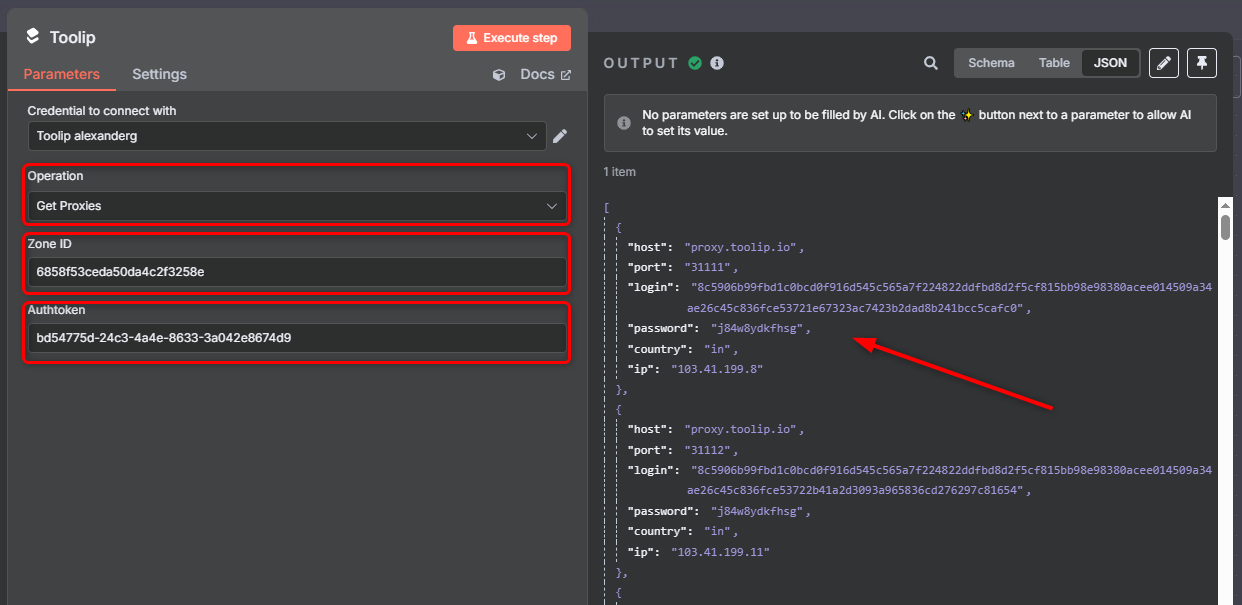
 Let's try again by choosing `Get Proxies` operation. Add the `Zone ID` of the proxy and the `Authtoken`, now you'll see all the **information of that proxy**.
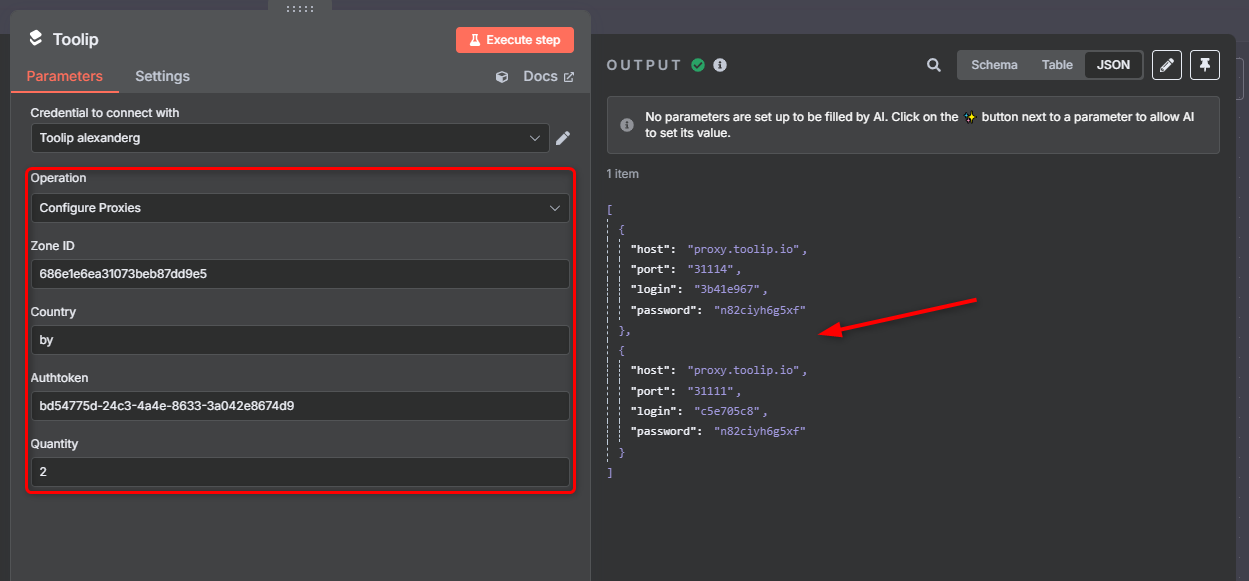
 You can also **configure and rotate proxies** using the `Configure Proxies` operation.